
Candy Cane Cookies

Delicate, peppermint-scented twisted cookies that bring holiday cheer — crisp edges, tender centers, and a cheerful red-and-white swirl.

Why You'll Love This Recipe
- Quick to prepare: active mixing takes about 20 minutes and the cookies bake in 10 to 12 minutes, so you can make multiple trays in an afternoon.
- Simple pantry ingredients: uses flour, butter, sugar, an egg, and small amounts of extracts — perfect when you don’t want a long shopping list.
- Kid-friendly shaping: rolling ropes and twisting makes a fun hands-on activity for helpers and yields consistent stripes every time.
- Make-ahead friendly: dough can be chilled or frozen, so you can prepare in advance and bake fresh for guests.
- Customizable finish: press crushed candy cane, coarse sugar, or leave plain for a classic look — peppermint level is easy to adjust.
- Great for gifting: these keep well for several days in an airtight tin and travel beautifully in boxes or tins.
In my experience this formula is the one I return to when I want the peppermint to shine without dominating. Family and friends always comment on the crisp visual appeal of the red-and-white twist, and the method is simple enough that even first-time bakers get consistent results.
Ingredients
- All-purpose flour (2 1/2 cups): Look for a trusted brand such as King Arthur or Gold Medal for consistent protein levels. Flour provides structure; measuring by scoop-and-level or using a scale is key for predictable texture.
- Baking powder (1/2 teaspoon): Fresh baking powder gives a gentle lift so the cookies aren't flat; check the expiration date on the can for best results.
- Salt (1/4 teaspoon): Fine sea salt or table salt heightens sweetness and rounds flavors — don't skip it even in sweet dough.
- Unsalted butter (3/4 cup, softened): Use real butter for flavor; leave it at room temperature until a light indentation holds but it is not oily. Softened butter traps air for a tender crumb.
- Granulated sugar (3/4 cup): Standard white sugar provides the clean sweetness and helps edges caramelize for a touch of crunch.
- Egg (1 large, room temperature): Adds richness and emulsifies the dough. If chilled, place it in warm water for a few minutes to avoid seizing the butter.
- Vanilla extract (1 teaspoon): Pure vanilla adds depth; imitation works in a pinch but the flavor will be flatter.
- Peppermint extract (1/2 teaspoon): Potent: start with 1/2 teaspoon and increase cautiously — gel food coloring does not add flavor, just color.
- Red gel food coloring: Gel colors give vibrant stripes without thinning the dough; add sparingly to the divided portion.
- Crushed candy canes or coarse sugar (optional): For finishing. Crushed candy adds crunch and a burst of peppermint; coarse sugar gives a sparkling finish.
Instructions
Combine dry ingredients: Whisk together 2 1/2 cups all-purpose flour, 1/2 teaspoon baking powder, and 1/4 teaspoon salt in a medium bowl. This ensures even distribution of leavening so the cookies rise uniformly and have consistent seasoning throughout. Sift or whisk for a minute to remove lumps and aerate the flour for a lighter dough. Cream butter and sugar: In a separate large bowl, beat 3/4 cup softened unsalted butter with 3/4 cup granulated sugar on medium-high speed until pale and fluffy, roughly 2 to 3 minutes. This step incorporates air which contributes to tender texture and lightness. Scrape the bowl down once or twice so everything mixes evenly. Add egg and extracts: Beat in 1 large room-temperature egg, 1 teaspoon vanilla extract, and 1/2 teaspoon peppermint extract until combined. Mix on low speed until just homogenous; overbeating can break down the structure and cause spreading. Taste a tiny bit of the raw batter (optional) to gauge peppermint strength — it will mellow on baking. Combine wet and dry: Add the dry mix to the butter mixture in thirds on low speed, mixing until just combined. Overmixing develops gluten and makes the cookies tough; stop when you no longer see streaks of flour. The dough should be soft but manageable and slightly tacky. Divide and color the dough: Divide the dough into two equal portions. Knead red gel into one half until color is even — gel coloring stains less and provides vivid stripes. Roll each portion into ropes about 3/8 inch to 1/2 inch in diameter, then gently press ropes together and twist to form the candy cane motif. Keep an even pressure so the twist is uniform. Chill and shape: Place the shaped pieces on a baking tray and chill 10 to 20 minutes. Chilling firms the butter so cookies spread less during baking and the pattern stays crisp. If your kitchen is warm, chill longer. Cold dough also produces a slightly thicker, chewier center with crisp edges. Bake and finish: Preheat the oven to 350°F. Arrange cookies on a parchment-lined baking sheet about 1 inch apart. Bake for 10 to 12 minutes until edges are set and the bottoms are pale golden. Let cool on the sheet for 5 minutes, then transfer to a wire rack. While still warm, press crushed candy cane or coarse sugar onto tops if desired so the pieces adhere without melting completely.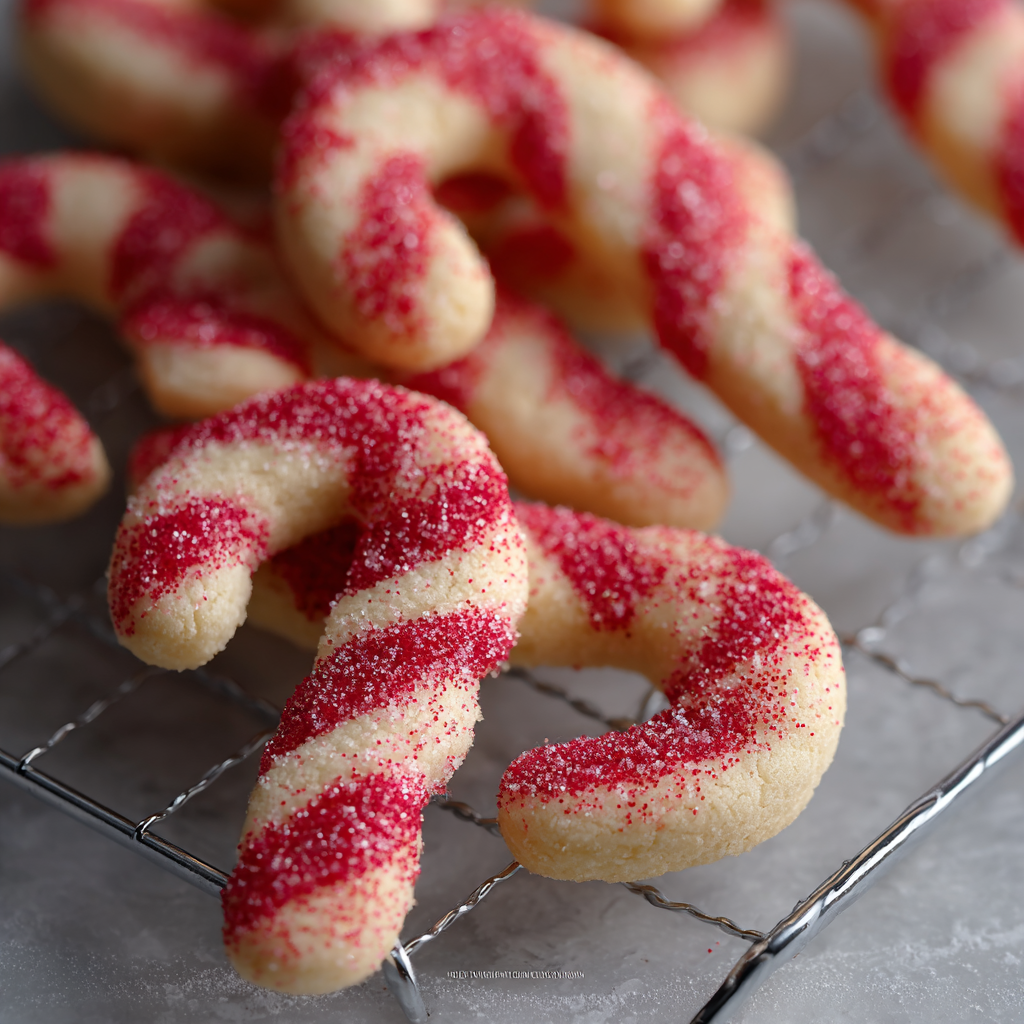
You Must Know
- These are best eaten within 3 to 5 days stored in an airtight container at room temperature; they maintain crunch if separated with parchment layers.
- Dough freezes well for up to 3 months; thaw in the refrigerator overnight before slicing or shaping.
- Cookies are moderately sweet and peppermint-forward; reduce peppermint extract if you prefer subtler notes.
- Chilling time is important: cold dough = minimal spread and defined stripes.
- If you press candy cane pieces onto warm cookies, they will adhere; wait until cool for a crunchier texture.
My favorite part is the crunch of the crushed candy cane against the tender cookie. One year a neighbor brought over a tin of these and said they tasted exactly like a peppermint latte in cookie form — that comment convinced me I had struck the right balance between mint and buttery sweetness. These have become our small tradition for surprise gifts and last-minute hostess offerings.

Storage Tips
Store cooled cookies in an airtight tin at room temperature for up to 5 days; layer with parchment paper to avoid sticking. For longer storage, freeze in a single layer on a tray then transfer to a labeled freezer bag for up to 3 months. Thaw at room temperature for 30 to 60 minutes before serving. If you plan on gifting, place a slice of white bread in the tin — it helps maintain softness without making the cookies soggy. Reheat briefly in a 300°F oven for 4 to 6 minutes to revive the just-baked aroma.
Ingredient Substitutions
For a dairy-free version, replace butter with a plant-based stick butter measured 1:1; texture will be slightly different but still delicious. Use egg replacer like a flax egg (1 tablespoon ground flax + 3 tablespoons water) for an egg-free option, though spreading and color may vary. Swap granulated sugar for coconut sugar for a deeper flavor and slightly darker color, but expect a denser crumb. If you prefer a natural color, source beet-based red coloring; it may be less vibrant but still festive. For a gluten-free adaptation, use a 1:1 gluten-free flour blend that contains xanthan gum to approximate the texture.
Serving Suggestions
Serve with hot cocoa, peppermint tea, or a simple espresso for contrast. Arrange on a festive platter with sprigs of rosemary or holly for holiday gatherings. For a party, pair these with shortbread, chocolate-dipped biscotti, or a cheese board for adults. They make charming cupcake toppers when crumbled, and you can press mini twists into the tops of frosted cupcakes for a coordinated dessert table. Wrap a dozen in cellophane with a ribbon for an instant hostess gift.
Cultural Background
Striped mint cookies echo the visual language of traditional candy canes, a candy with origins in 17th-century Europe that became associated with Christmas over time. The iconic white and red stripes and peppermint flavor became standard in the 20th century. Translating that motif to a cookie is a modern playful adaptation — bakers have long used dough layering and twisting techniques to mimic marbling and create decorative confections. These little twists celebrate that heritage in a handheld, shareable form.
Seasonal Adaptations
In winter, amplify the mint with a thin drizzle of white chocolate to simulate snowy highlights. For spring or Valentine’s, switch peppermint for strawberry extract and use pink food coloring. At Halloween, swap the red for orange and use a drop of pumpkin spice instead of peppermint for a seasonal twist. For summer gatherings, omit the peppermint and add lemon zest to the uncolored portion for a bright citrus swirl.
Meal Prep Tips
Plan ahead by making dough up to two weeks in advance and keep it wrapped in the refrigerator, or freeze shaped logs ready to slice and bake. Portion dough ropes onto parchment-lined trays before freezing so you can transfer them quickly to a bag without losing shape. Bake straight from chilled for an extra-consistent result; add a minute or two to baking time if starting from frozen. Label and date all packages so you rotate older batches first.
These Candy Cane Cookies are simple, satisfying, and full of holiday charm — they reward small hands at the shaping stage and deliver big smiles at the finished table. Make a batch, share a tin, and enjoy the little ritual of twisting dough into festive smiles.
Pro Tips
Chill shaped dough for at least 10 minutes to prevent spreading and preserve the stripe pattern.
Use gel food coloring to avoid thinning the dough and to get vibrant red without affecting texture.
Measure flour by spooning into the cup and leveling off to avoid dry, dense cookies.
This nourishing candy cane cookies recipe is sure to be a staple in your kitchen. Enjoy every moist, high protein slice — it is perfect for breakfast or as a wholesome snack any time.
Tags
Candy Cane Cookies
This Candy Cane Cookies recipe makes perfectly juicy, tender, and flavorful steak every time! Serve with potatoes and a side salad for an unforgettable dinner in under 30 minutes.
Ingredients
Dough
Instructions
Combine dry ingredients
Whisk together flour, baking powder, and salt in a bowl until evenly mixed to ensure uniform lift and seasoning.
Cream butter and sugar
Beat softened butter and granulated sugar until pale and fluffy, about 2 to 3 minutes to incorporate air for tender texture.
Add egg and extracts
Stir in the egg, vanilla, and peppermint extract until blended, scraping the bowl to mix evenly and avoid streaks.
Combine wet and dry
Add dry mix gradually to the wet mixture on low speed, mixing until just combined; avoid overmixing to keep the cookies tender.
Divide and color the dough
Split dough in half, knead red gel into one portion to desired color, then roll ropes and twist together to create stripe patterns.
Chill and shape
Place shaped pieces on a tray and chill 10 to 20 minutes so patterns hold during baking; chilled dough spreads less.
Bake and finish
Bake at 350°F for 10 to 12 minutes until edges set; cool 5 minutes on the sheet then transfer to a rack and press crushed candy cane onto warm tops if desired.
Last Step: Please leave a rating and comment letting us know how you liked this recipe! This helps our business to thrive and continue providing free, high-quality recipes for you.
Nutrition
Did You Make This?
Leave a comment & rating below or tag
@snapyrecipe on social media!
Categories:
You might also like...

5-Minute Thanksgiving Appetizers That Wow Every Guest
A fast, elegant bite for Thanksgiving: creamy cheese, bright cranberry, crunchy pecans and rosemary on crackers or baguette — ready in five minutes and loved by all.

Air Fryer Bang Bang Chicken Skewers
Crispy air-fried chicken skewers tossed in a creamy, sweet-spicy bang bang sauce — a quick, crowd-pleasing weeknight favorite.

Air Fryer Honey Butter Garlic Chicken Tenders
Crispy air-fried chicken tenders coated in a sticky honey-butter garlic glaze — quick, family-friendly, and ready in about 25 minutes.
Did You Make This?
Leave a comment & rating below or tag @snapyrecipe on social media!
Rate This Recipe
Share This Recipe
Enjoyed this recipe? Share it with friends and family, and don't forget to leave a review!
Comments (1)
This recipe looks amazing! Can't wait to try it.
Comments are stored locally in your browser. Server comments are displayed alongside your local comments.
Hi, I'm Natalia!
What's Popular

Get My 30-Minute Meals email series!
Quick and easy dinner ideas delivered to your inbox.