
A crowd-pleasing, quick-to-make snack: soft tortillas wrapped around melty mozzarella, pepperoni and pizza sauce, baked and brushed with garlicky oil for golden, irresistible roll-ups.

This recipe for Cheesy Pepperoni Pizza Roll-Ups is one of those weeknight winners that turned my busy evenings into something a little more festive. I first made these on a rainy Saturday when my kids wanted pizza but I had only a patchy pantry and a bag of small flour tortillas. The result was unexpectedly brilliant: familiar pizza flavors wrapped into a handheld parcel, perfect for dipping and sharing. They’re crunchy at the edges, pillowy where the tortilla meets the melted cheese, and the pepperoni crisps just enough to add savory pops of flavor.
What makes these roll-ups special is how adaptable they are. I discovered that spreading the sauce thin and using a tight roll keeps everything neatly inside, while a light brush of oil and a sprinkle of Italian seasoning transforms them into a bakery-style snack. They’re ideal for casual dinners, packed lunches, game-day bites, or a simple appetizer when guests drop by. I always keep a jar of a good pizza sauce (I like Rao’s or a plain tomato-basil jar) in the pantry so I can whip these up in under 30 minutes.
I remember serving these at a casual movie night: everyone reached for seconds before the credits rolled. My sister insisted on an extra sprinkle of oregano and crushed red pepper, while my son dunked his in extra sauce. They’re a simple idea executed well — the combination of warmed sauce, bubbling cheese, and slightly crisped pepperoni is always a hit.
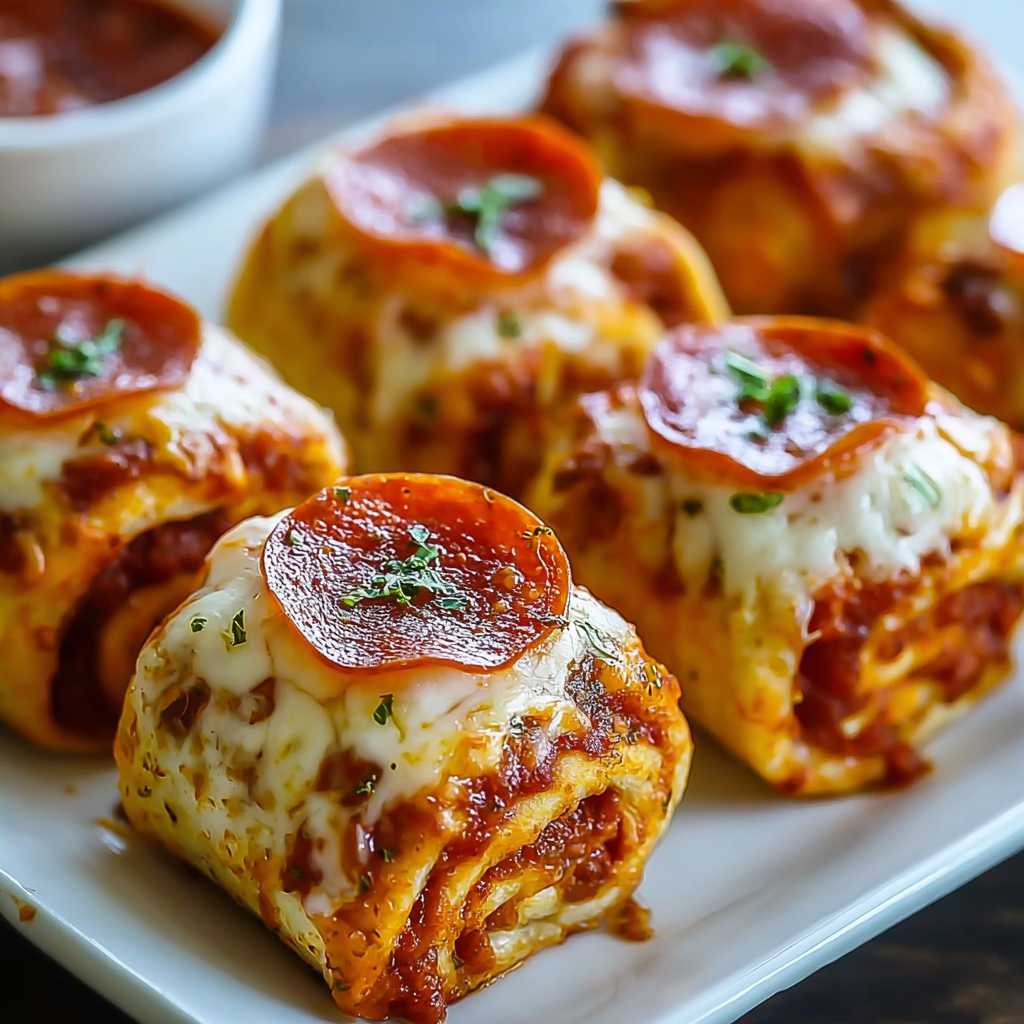

My favorite aspect is how flexible these are. On rainy nights, I’ll add a handful of spinach and a few sliced olives to one or two rolls to get some veggies in. Friends always ask for the herb mixture recipe — that simple garlic-Italian sprinkle makes them taste bakery-fresh every time.
To store, let the roll-ups cool completely on a wire rack so they don’t steam and get soggy. Place in an airtight container in the refrigerator for up to 3 days; layer with parchment paper to prevent sticking. For longer storage, freeze on a baking sheet until firm (about 1 hour), then move to a freezer bag or container for up to 3 months. Reheat from frozen in a 375°F oven for 10–15 minutes or in an air fryer at 350°F until warmed through, flipping halfway for even crisping.
Swap the pepperoni for turkey pepperoni or thinly sliced cooked sausage for different flavors. Use whole-wheat or spinach tortillas for more fiber — note that thicker tortillas take a bit longer to crisp. Replace mozzarella with a low-moisture part-skim version to reduce fat, or use a blend of mozzarella and provolone for a deeper flavor. For a dairy-free option, try dairy-free shredded cheese and a compliant pepperoni alternative (or roasted vegetables).
Serve the roll-ups with a side of warmed pizza sauce or ranch for dipping. Pair them with a crisp green salad or roasted vegetables for a balanced meal. For parties, cut each roll into two or three bite-sized pieces and secure with a toothpick; arrange on a platter with fresh basil leaves and a sprinkle of Parmesan for a more polished presentation.
These roll-ups are a playful riff on classic Italian-American flavors — they take the essentials of pizza (sauce, cheese, cured meat) and adapt them into an American convenience format using tortillas. Similar handheld adaptations exist worldwide (think stromboli or calzone), but this version is rooted in pantry-friendly improvisation and the tradition of turning beloved comfort flavors into easy-to-share snacks.
In summer, add thinly sliced roasted bell peppers or fresh basil inside for brightness; in autumn, scatter in some caramelized onions and sage for warmth. Holiday gatherings welcome a festive twist — swap pepperoni for prosciutto and top with a drizzle of truffle oil after baking for an indulgent upgrade. The technique remains the same and adapts well to seasonal produce and flavors.
Make a double batch and freeze half for quick meals. Assemble roll-ups and freeze them unbaked on a tray, then bag them for later; bake from frozen at 375°F for 12–18 minutes until hot and golden. For packed lunches, include a small container of sauce for dipping and a crunchy side like carrot sticks. Label freezer bags with the date and reheat instructions to streamline busy mornings.
Bring these out at your next casual gathering — they’re easy to scale, simple to modify, and reliably loved by kids and adults alike. Enjoy the convenience of pizza flavors in a tidy, shareable package and make the idea your own by swapping fillings or spices to suit your pantry.
Use slightly thicker 6-inch flour tortillas to prevent tearing when rolling.
Brush roll-ups lightly with oil so the seasonings adhere and the tops brown evenly.
For a crisper exterior, finish at a higher temperature (400°F) for a few minutes or use an air fryer at 400°F for 5–8 minutes.
Put seam-side down in the pan to keep the rolls closed while baking.
Cool briefly on a wire rack after baking to keep bottoms from getting soggy.
This nourishing cheesy pepperoni pizza roll-ups recipe is sure to be a staple in your kitchen. Enjoy every moist, high protein slice — it is perfect for breakfast or as a wholesome snack any time.
This Cheesy Pepperoni Pizza Roll-Ups recipe makes perfectly juicy, tender, and flavorful steak every time! Serve with potatoes and a side salad for an unforgettable dinner in under 30 minutes.

Preheat oven to 350°F (175°C) and lightly oil or spray a large baking pan to prevent sticking.
Lay each tortilla flat and spread about 1 tablespoon of pizza sauce evenly over the center, leaving a 1/2-inch border to prevent overflow.
Sprinkle roughly 1/4 cup shredded mozzarella on each tortilla and place 4 pepperoni slices along the length; add optional fillings if desired.
Roll each tortilla tightly and place seam-side down in the prepared pan so they remain closed while baking.
Lightly brush the tops with 1 tablespoon cooking oil distributed among rolls and sprinkle combined garlic powder, Italian seasoning, and garlic salt.
Bake at 350°F for about 10 minutes until cheese is melted and tops are lightly golden; for a crispier finish, bake at 400°F for an extra 3–5 minutes or air fry at 400°F for 5–8 minutes.
Last Step: Please leave a rating and comment letting us know how you liked this recipe! This helps our business to thrive and continue providing free, high-quality recipes for you.
Leave a comment & rating below or tag
@snapyrecipe on social media!


A fast, elegant bite for Thanksgiving: creamy cheese, bright cranberry, crunchy pecans and rosemary on crackers or baguette — ready in five minutes and loved by all.
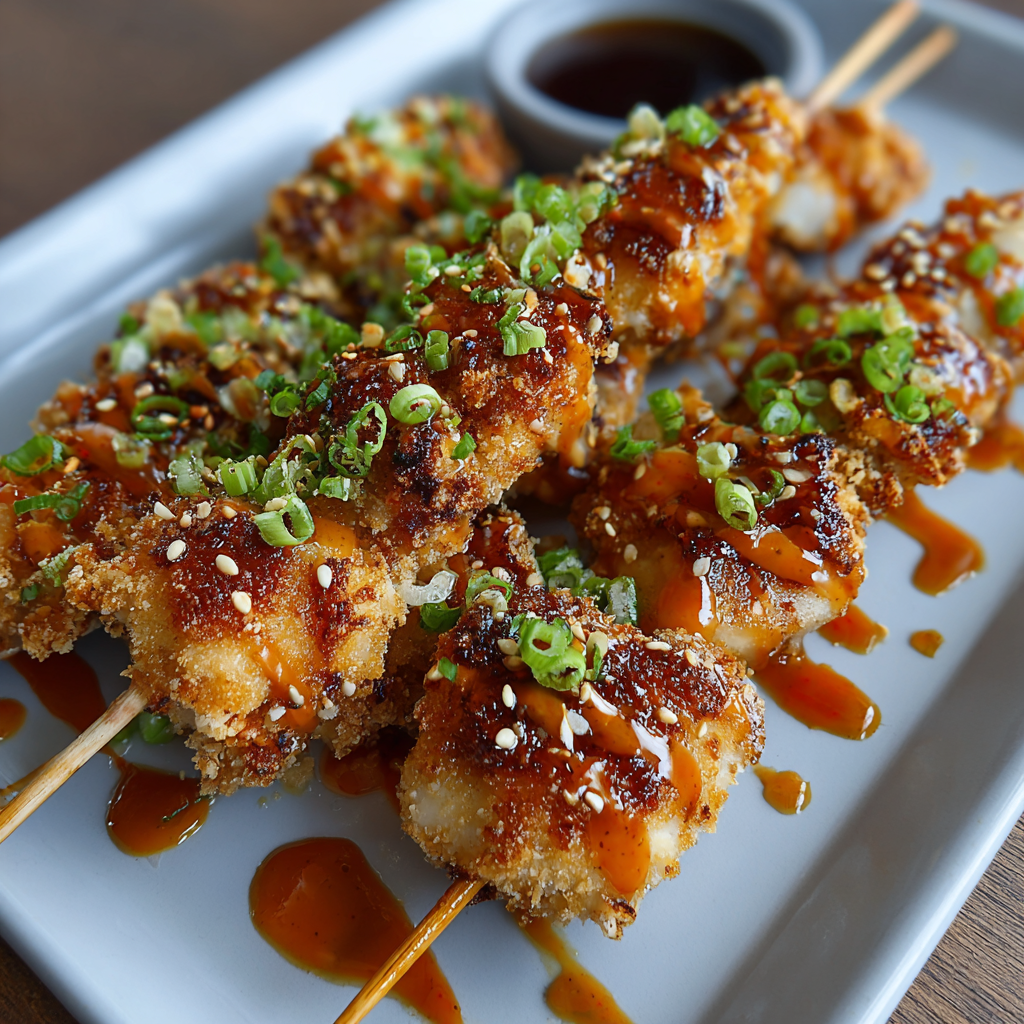
Crispy air-fried chicken skewers tossed in a creamy, sweet-spicy bang bang sauce — a quick, crowd-pleasing weeknight favorite.
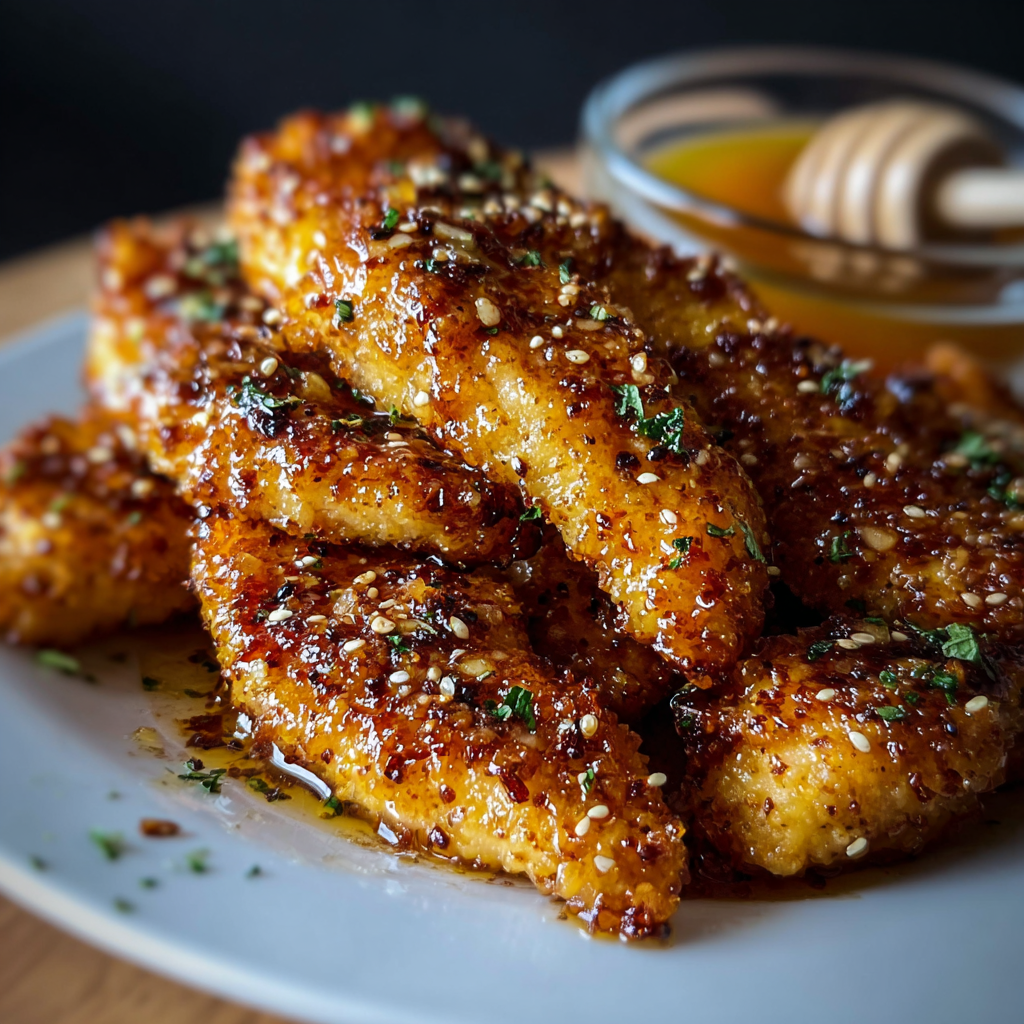
Crispy air-fried chicken tenders coated in a sticky honey-butter garlic glaze — quick, family-friendly, and ready in about 25 minutes.

Leave a comment & rating below or tag @snapyrecipe on social media!
Enjoyed this recipe? Share it with friends and family, and don't forget to leave a review!
This recipe looks amazing! Can't wait to try it.
Comments are stored locally in your browser. Server comments are displayed alongside your local comments.
Quick and easy dinner ideas delivered to your inbox.