
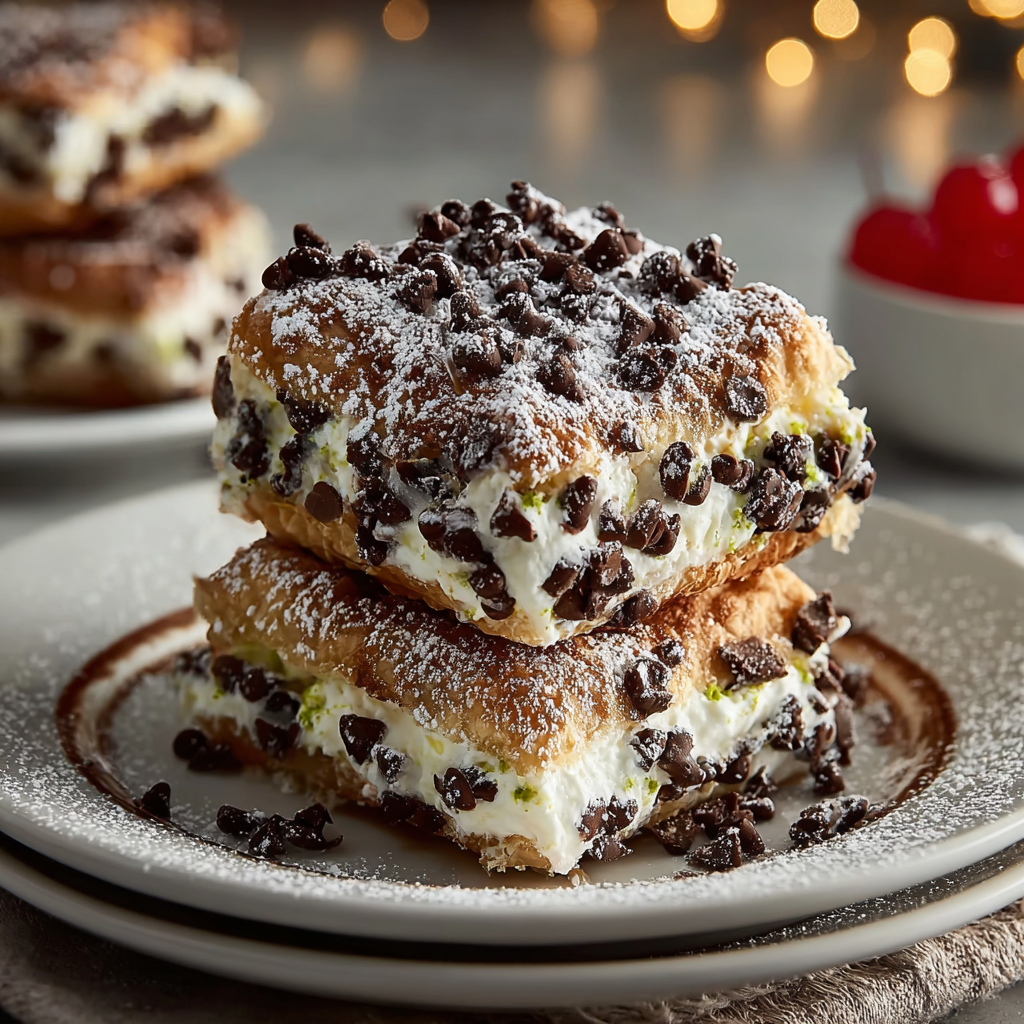
Classic Cannoli Squares

A playful, sliceable take on traditional cannoli — creamy ricotta filling sandwiched between flaky pre-made crusts, baked until golden and finished with pistachios and chocolate.
This recipe has a special place on my dessert table: Classic Cannoli Squares are the easiest way I know to capture everything I love about cannoli — the sweet, slightly citrusy ricotta cream, the chocolate crunch, and that satisfying contrast between creamy filling and crisp pastry — but in a format that’s perfect for potlucks and weeknight baking. I first made these during a family picnic when I wanted a transportable dessert that didn’t need last-minute assembly. They arrived warm, sliced into squares, and disappeared before I could get a second piece. My grandmother, a stickler for authentic flavors, called them “a very civilized shortcut” and asked for the recipe the next day.
What makes these particularly special is how forgiving and flexible they are. Using pre-made pie crusts saves time without sacrificing the buttery, flaky foundation that makes a cannoli feel indulgent. The filling is anchored by whole-milk ricotta for creaminess, gently sweetened and spiked with vanilla and a whisper of cinnamon. Mini chocolate chips folded into the filling provide pockets of dark, bittersweet contrast, while optional pistachios add color and crunch. I’ve learned a few tricks over the years — draining the ricotta briefly for a richer texture, pressing the crust firmly into the pan to avoid gaps, and allowing the squares to cool enough so the filling sets — that help this dish shine every time.
Why You'll Love This Recipe
- Ready in under an hour from start to finish: about 20 minutes of active work and 30–35 minutes in the oven, perfect for quick entertaining.
- Uses pantry and fridge staples: ricotta, pie crusts, sugar, and mini chocolate chips are easy to source and keep on hand.
- Make-ahead friendly: bake and chill; squares hold well for 2–3 days refrigerated and travel without melting toppings.
- Customizable: swap in low-fat ricotta or coconut sugar, add citrus zest, or finish with pistachios and cherries for an upscale look.
- Crowd-pleasing and easy to portion — ideal for picnics, potlucks, school events, or casual weeknight dessert.
In my experience these squares bridge generations — kids love the chocolate pockets and adults appreciate the balance of textures. I once brought a pan to a summer block party and neighbors insisted I teach them the “secret” method of draining ricotta before folding in chips; now it’s one of those small but essential tips I pass on whenever someone asks for the recipe.
Ingredients
- Ricotta cheese (15 ounces): Whole-milk ricotta yields the creamiest texture and fullest flavor. If you prefer a lighter version, use low-fat ricotta but expect a slightly less rich mouthfeel. Brands I turn to are Galbani or Calabro for consistent creaminess.
- Powdered sugar (1 cup): Also labeled confectioners' sugar; it dissolves smoothly into the ricotta for a silky filling. For a less refined sweetener, coconut sugar may be used but expect a browner color and caramel notes.
- Vanilla extract (1 teaspoon): Pure vanilla extract is best — it brightens the filling. A splash of orange zest (about 1 teaspoon) can be added for a classic Sicilian note.
- Cinnamon (1/2 teaspoon): Adds warmth without overpowering the ricotta; optional if you prefer a purer ricotta flavor.
- Mini chocolate chips (1/2 cup): Dark mini chips give a sophisticated contrast; semi-sweet works well too. Mini chips distribute more evenly through the filling.
- Pre-made pie crusts (1 package, 14 ounces): Most packages include two crusts — one will line the pan and one becomes the top. Keep them chilled until ready to unroll for best handling.
- Egg (1, beaten): Used as an egg wash to help the top crust develop a glossy, golden finish.
- Sugar for sprinkling (1 tablespoon): Coarse or granulated sugar adds a subtle crunch and shine to the baked top.
- Optional garnishes: Chopped pistachios, maraschino cherries, and extra chocolate chips to sprinkle after baking for texture and color.
Instructions
Prepare the filling: Place the ricotta in a mixing bowl. If the ricotta seems watery, line a mesh sieve with cheesecloth and drain for 15–30 minutes to concentrate the flavor and prevent a runny filling. Whisk in powdered sugar, vanilla, and cinnamon until smooth. Fold in the mini chocolate chips gently so they remain evenly distributed. Preheat the oven: Preheat to 375°F. Position a rack in the middle of the oven for even browning. Chilling your assembled pan for 10–15 minutes while the oven heats helps the crust hold shape. Line the pan with bottom crust: Unroll one pie crust and press it into a 9x9-inch baking dish, ensuring the edges are snug against the sides and there are no air pockets. Patch any tears with a small piece of dough. Add the filling: Spoon the ricotta mixture into the lined pan and spread into an even layer with an offset spatula, leaving a small border for sealing. Smooth the top so the second crust sits flat. Top crust and egg wash: Roll out the second crust, place gently over the filling, and crimp or flute the edges to seal. Brush the top evenly with the beaten egg and sprinkle with the tablespoon of sugar for a delicate crunch. Bake until golden: Bake for 30–35 minutes or until the crust is golden brown and the filling is set with just a slight jiggle in the center. If the edges brown too quickly, tent lightly with foil after 20 minutes. Cool and slice: Allow the pan to cool on a wire rack for at least 30 minutes so the filling firms. Run a knife around the edges before turning into squares. Garnish each square with chopped pistachios, a cherry, or extra chocolate chips as desired.
You Must Know
- Nutrition and portions: Each square is moderately sized — these hold about 9 servings per 9x9 pan and are roughly 270–300 calories each when made with whole-milk ricotta and a standard crust.
- Storage: Refrigerate leftovers covered for up to 3 days. They can be frozen for up to 1 month; thaw in the refrigerator and refresh in a 300°F oven for 8–10 minutes.
- Make-ahead tips: Assemble and bake a day ahead, then store chilled. Add garnishes just before serving to keep colors vivid.
- Allergy note: Contains dairy, eggs, gluten; use gluten-free crust and dairy-free ricotta alternatives for dietary needs.
What I love most about these squares is how they invite improvisation. Once you have the base technique down, you can riff with citrus zest, different chips, or a toasted nut topping. A pan of these at holiday gatherings always sparks conversation — someone will compare them to fried shells, another will ask for the recipe, and I’ll quietly smile knowing it started as a quick shortcut.
Storage Tips
Store slices in an airtight container in the refrigerator for up to 3 days; place parchment between layers to prevent sticking. To freeze, wrap individual squares tightly in plastic wrap and place in a freezer bag or airtight container for up to 1 month. When ready to serve, thaw overnight in the fridge and re-crisp the crust at 300°F for 8–10 minutes. Room temperature storage is only safe for a few hours because of the dairy filling — always refrigerate within two hours of baking.
Ingredient Substitutions
For a lighter version, use low-fat ricotta and a low-sugar substitute in the filling; keep in mind texture will be less luscious. To make dairy-free or vegan squares, try store-bought almond- or soy-based ricotta alternatives and use a vegan pie crust and aquafaba or plant-based milk wash. Swap powdered sugar for a 1:1 granulated sugar substitute designed for baking if needed. For gluten-free, use a rolled-out gluten-free crust mix and bake a touch longer until the crust is fully set.
Serving Suggestions
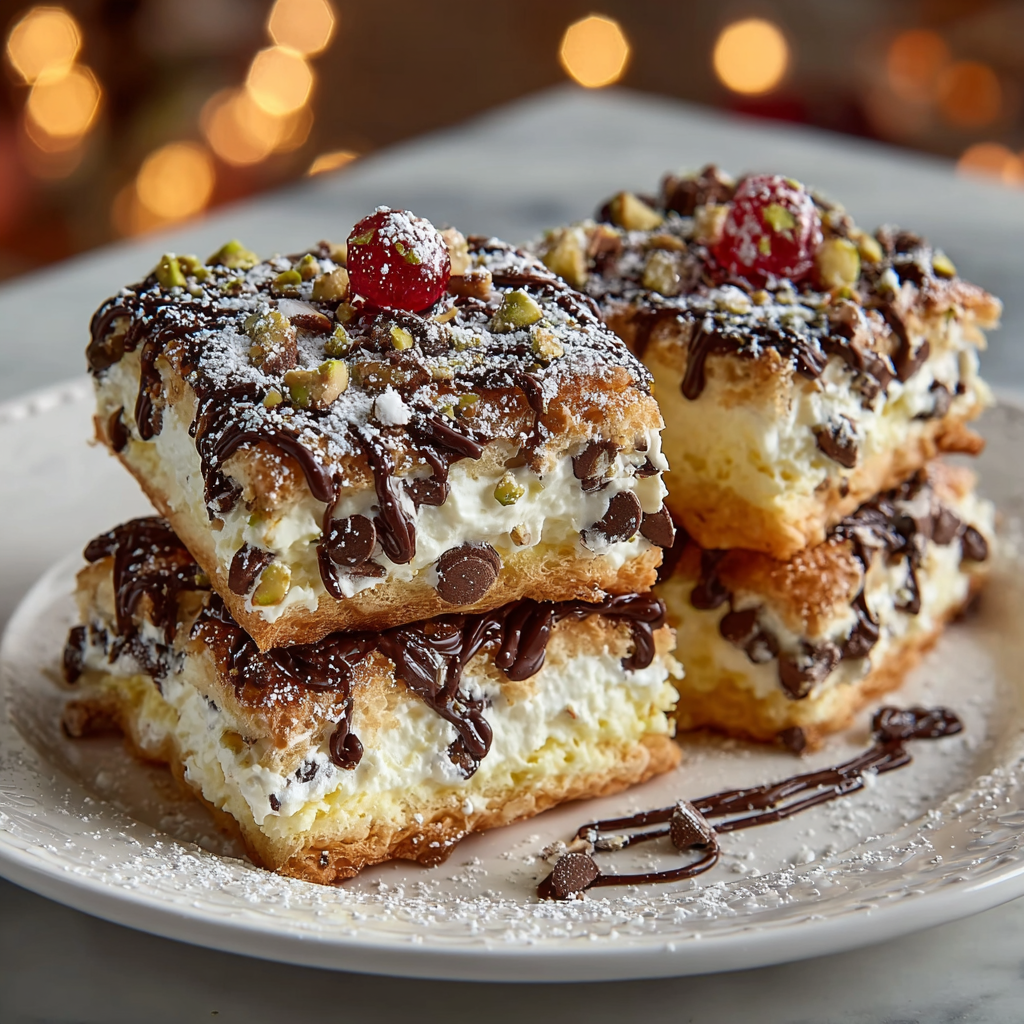
Serve slices slightly chilled or at cool room temperature with a dusting of extra powdered sugar, chopped pistachios for color, and a maraschino cherry for vintage charm. These squares pair beautifully with espresso or sweet dessert wines like Moscato. For a festive presentation, arrange on a platter with alternating garnishes — half with pistachios, half with chocolate chips — so guests can choose their favorite.
Cultural Background
The classic cannoli hails from Sicily and traditionally features sweetened ricotta piped into fried pastry tubes. This bar-style adaptation preserves the essence of the filling and the contrast of creamy and crunchy textures but swaps frying for baking to create an approachable, shareable dessert. Over time, Italian-Americans have embraced many such innovations, making heritage flavors accessible in new formats without losing their core identity.
Seasonal Adaptations
In spring and summer, add grated lemon or orange zest to the filling for brightness and finish with fresh berries on the plate. For winter holidays, fold in a tablespoon of orange liqueur and top with candied orange peel and toasted pistachios. During autumn, a pinch of nutmeg and a maple-sugar sprinkle pair beautifully with the ricotta base.
Meal Prep Tips
To streamline weeknight baking, prepare the filling the night before and keep it refrigerated. When ready to bake, press the bottom crust into the pan, spread the chilled filling, and top with the second crust. Par-bake filled bars for 10 minutes if you need to finish them later; return to a hot oven to complete the bake before serving. Use clear, shallow airtight containers for storing individual portions to simplify grab-and-go dessert options.
In closing, Classic Cannoli Squares are the kind of recipe that rewards small, thoughtful steps: draining ricotta, sealing the crust, and letting the pan cool properly. They travel well, please many palates, and hold memories of family gatherings and neighborhood parties. I hope you make them once and find your own little rituals to perfect them.
Pro Tips
Drain ricotta briefly in cheesecloth to improve texture and prevent a soggy center.
Chill the assembled pan for 10–15 minutes before baking to help the top crust keep its shape.
Use mini chocolate chips for even distribution and less sinking in the filling.
Tent with foil if edges brown before the center is set to avoid over-browning.
This nourishing classic cannoli squares recipe is sure to be a staple in your kitchen. Enjoy every moist, high protein slice — it is perfect for breakfast or as a wholesome snack any time.
FAQs about Recipes
Why should I drain the ricotta?
If your ricotta is watery, drain it in a cheesecloth-lined sieve for 15–30 minutes to prevent a runny filling.
Can I freeze the squares?
Yes. After cooling, wrap tightly and freeze for up to 1 month. Thaw overnight in the fridge and reheat briefly to refresh the crust.
Tags
Classic Cannoli Squares
This Classic Cannoli Squares recipe makes perfectly juicy, tender, and flavorful steak every time! Serve with potatoes and a side salad for an unforgettable dinner in under 30 minutes.
Ingredients
Filling
Crust
Garnish (optional)
Instructions
Prepare the filling
Drain ricotta if watery by placing it in a cheesecloth-lined sieve for 15–30 minutes. Transfer drained ricotta to a mixing bowl, whisk in powdered sugar, vanilla, and cinnamon until smooth. Fold in mini chocolate chips gently so they remain evenly distributed.
Preheat the oven
Preheat the oven to 375°F and position a rack in the center. Chilling the assembled pan briefly while the oven heats will help the dough maintain shape during baking.
Line the pan
Unroll one pie crust and press it into a 9x9-inch baking dish, ensuring it fits snugly against sides and corners. Patch any tears with a small dough piece and trim excess.
Fill the crust
Spread the ricotta filling into an even layer over the bottom crust with an offset spatula, leaving a 1/2-inch border to seal the top crust.
Top crust & egg wash
Roll out the second crust and place it over the filling. Crimp or flute the edges to seal. Brush the top with beaten egg and sprinkle with granulated sugar for a shiny, crunchy finish.
Bake until golden
Bake for 30–35 minutes, tenting with foil after 20 minutes if the edges brown too quickly. The center should be set with a slight jiggle when done.
Cool then slice
Cool the pan on a wire rack for at least 30 minutes to allow the filling to firm, then cut into 9 squares. Garnish with chopped pistachios, cherries, or extra chips before serving.
Last Step: Please leave a rating and comment letting us know how you liked this recipe! This helps our business to thrive and continue providing free, high-quality recipes for you.
Nutrition
Did You Make This?
Leave a comment & rating below or tag
@snapyrecipe on social media!
Categories:
You might also like...
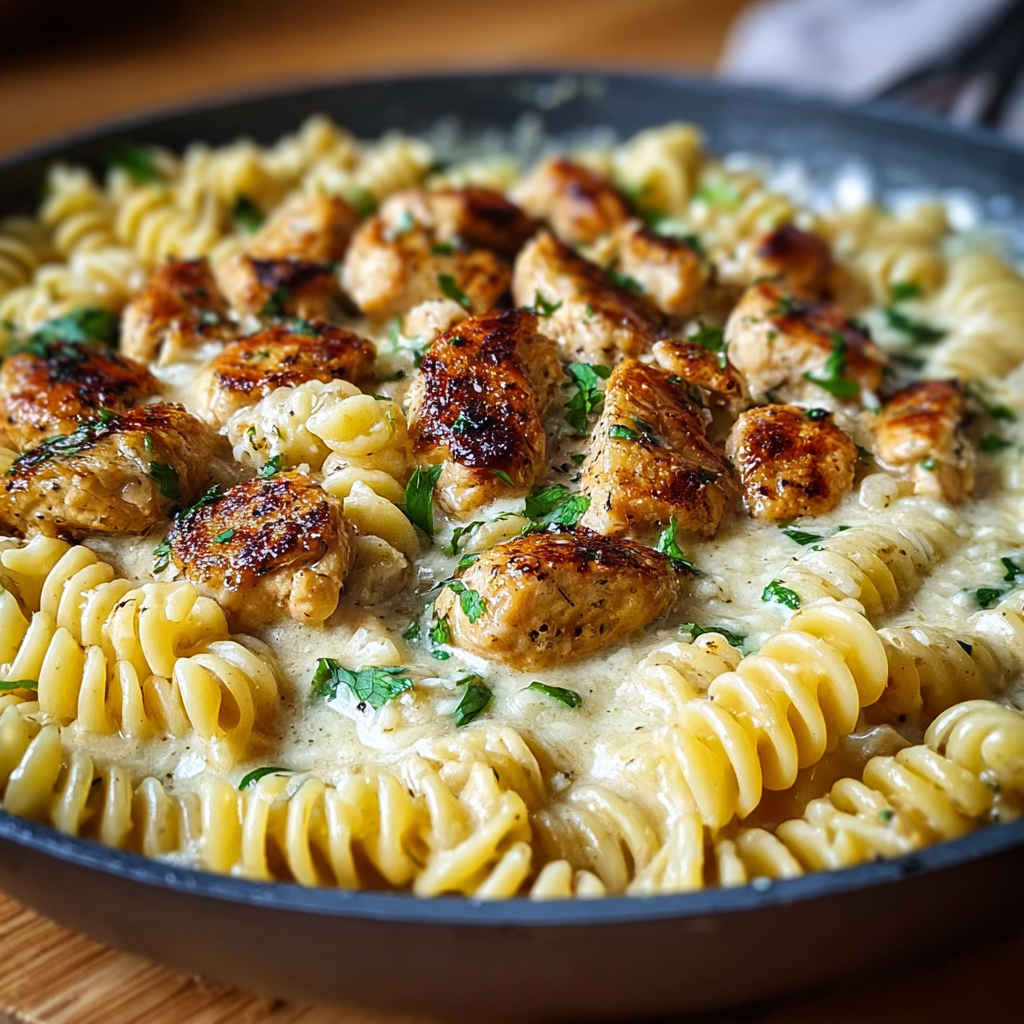
Creamy Garlic Butter Chicken & Rotini in Parmesan Sauce
Golden-browned chicken tossed with rotini in a silky garlic Parmesan sauce—comforting, quick, and perfect for weeknight dinners.
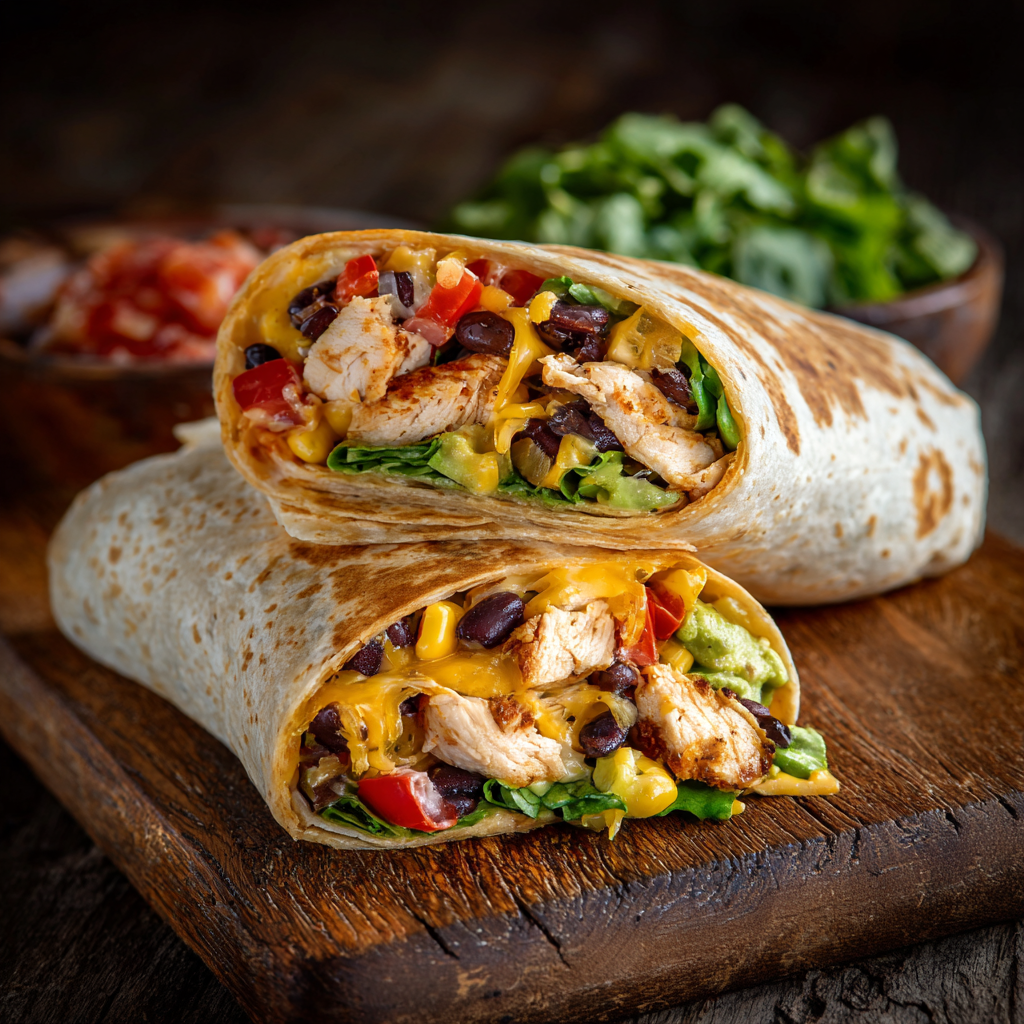
Southwest Chicken Wrap
A vibrant, smoky Southwest chicken wrap loaded with rice, beans, corn, and a creamy chipotle-lime sauce — perfect for lunch, meal prep, or an easy weeknight.

Classic Apple Crumble
A timeless apple crumble with a buttery, cinnamon-scented topping and tart-sweet Granny Smith filling — perfect warm with vanilla ice cream.
Did You Make This?
Leave a comment & rating below or tag @snapyrecipe on social media!
Rate This Recipe
Share This Recipe
Enjoyed this recipe? Share it with friends and family, and don't forget to leave a review!
Comments (1)
This recipe looks amazing! Can't wait to try it.
Comments are stored locally in your browser. Server comments are displayed alongside your local comments.
Hi, I'm Natalia!
What's Popular
Get My 30-Minute Meals email series!
Quick and easy dinner ideas delivered to your inbox.