
Classic Danish Butter Cookies

Buttery, tender cookies piped into pretty shapes and lightly golden at the edges — a timeless treat perfect for gifts, teatime, or holiday tins.
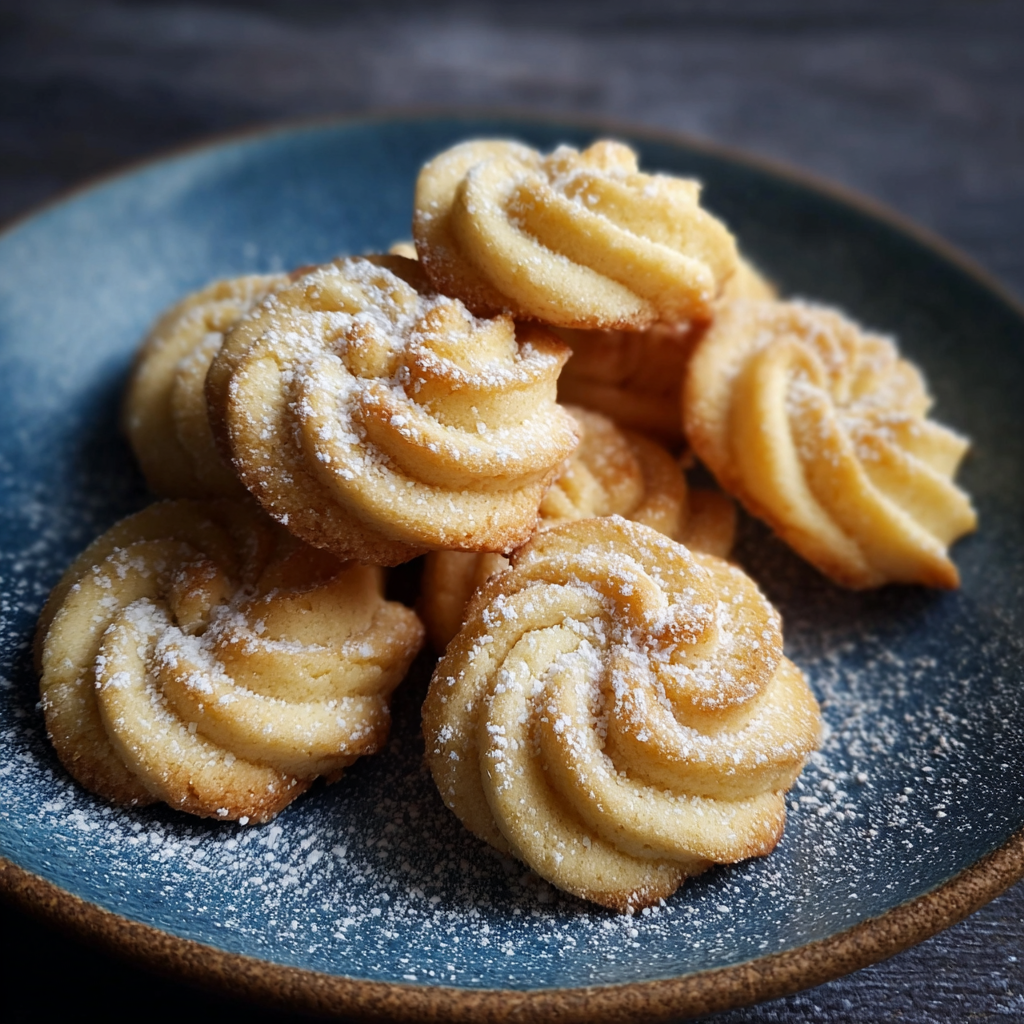
This recipe for Danish butter cookies has been a household favorite for as long as I can remember. I first learned to pipe these delicate shapes at my grandmother’s kitchen table, where the radio played old tunes and waxed paper dusted with flour cushioned the cookie tins. The texture is the real delight: a crisp exterior that gives way to a tender, melt-in-your-mouth center. The flavor is simple and honest — real butter, a hint of vanilla, and just enough sugar to bring out the buttery notes without overwhelming them.
I discovered the exact proportions in a winter when I wanted a cookie I could easily make for gift boxes and afternoon tea. The dough is forgiving and comes together quickly, and piping makes small batches feel special without any complicated technique. These cookies are perfect for when you want something that looks like it took effort but actually relies on straightforward method and quality ingredients. The result is consistently light, buttery, and elegant — and everyone asks for the recipe.
Why You'll Love This Recipe
- Simple pantry ingredients — butter, sugar, flour, an egg, and cornstarch — make these cookies approachable and stocked-ready for last-minute baking.
- Fast to prepare with just about 15 minutes of hands-on time and 12 to 15 minutes in the oven so you can have a batch ready in under 45 minutes.
- Piping gives professional-looking shapes with minimal skill; a star tip produces classic ridged edges that hold up during baking.
- Make-ahead friendly: dough can be chilled or cookies can be stored for gifting, keeping the process flexible for busy schedules.
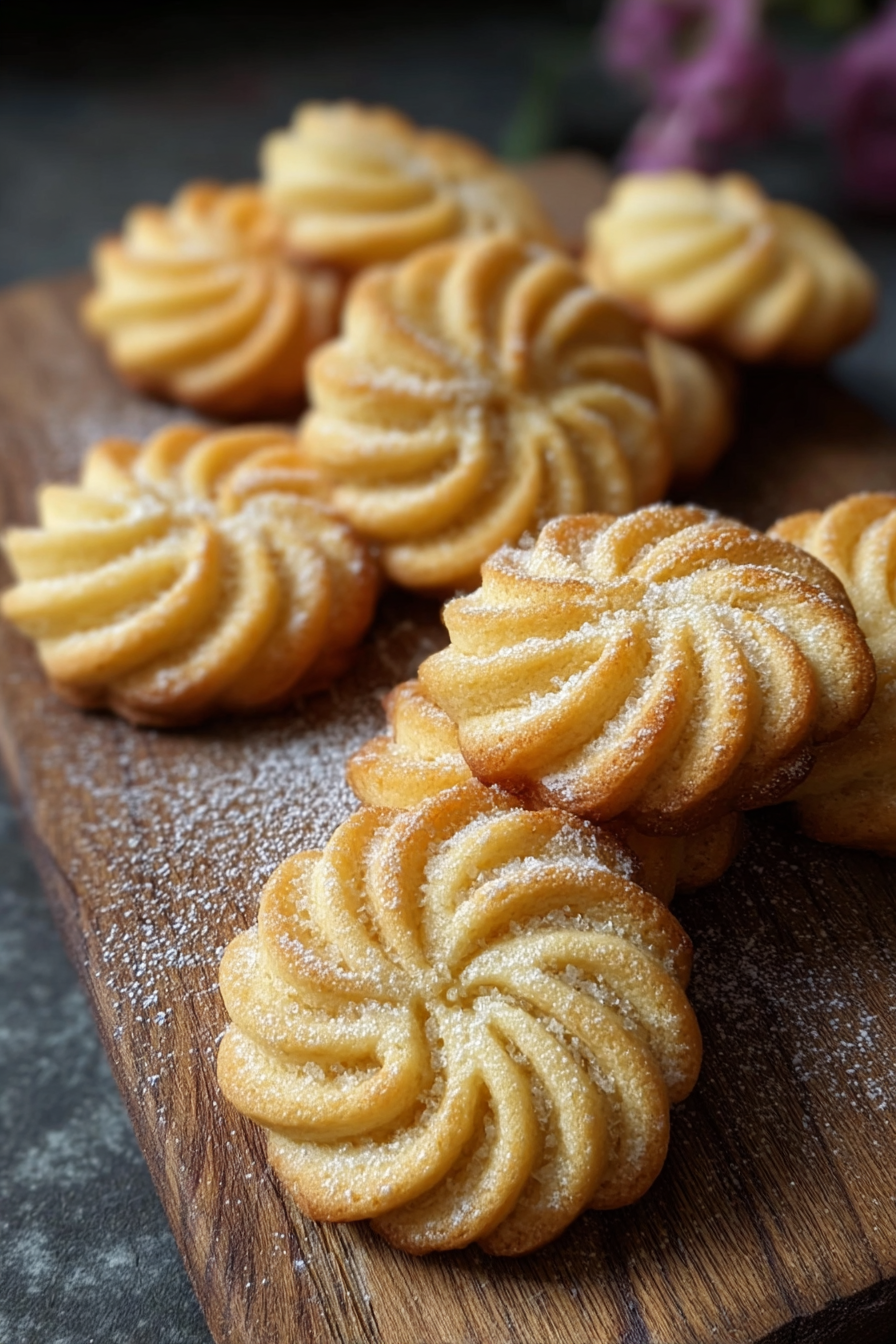
- Versatile for seasonal touches — add a sprinkle of coarse sugar, a dunk in chocolate, or a dusting of finely chopped nuts for variety.
- Low ingredient count and predictable results make this an excellent beginner baking project that still impresses guests.
On the first batch I made for neighbors, I watched windows open as plates were set out, and by the time I returned a voice called down the hall asking for the recipe. Our family prefers them slightly golden at the edges, while friends often favor a paler, meltier center. I learned to adjust baking time by checking the underside of a cookie for a faint color change; that small detail makes all the difference.
Ingredients
- Unsalted butter — 1 cup: Use high-quality European-style butter if you can, as its higher fat content and cultured flavor create a richer cookie. Make sure it is softened to room temperature for easy creaming; plug-in brands I trust are Kerrygold or Plugra when available.
- Granulated sugar — 3/4 cup: Fine granulated sugar blends smoothly into butter for a uniform texture. If you prefer a slightly finer crumb, superfine sugar works well but is optional.
- Large egg — 1: Adds structure and a tender crumb. Use large at room temperature so it incorporates evenly; cold eggs can cause the butter to seize.
- All-purpose flour — 2 cups: Provides structure. Spoon and level when measuring to avoid compacting the flour which could make cookies dense. King Arthur or other unbleached flours yield consistent results.
- Vanilla extract — 1 teaspoon: Real vanilla amplifies the butter flavor. Pure vanilla extract is preferred to imitation for a cleaner taste.
- Salt — 1/4 teaspoon: Balances the sweetness and highlights the butter. If using salted butter, reduce or omit added salt to taste.
- Cornstarch — 2 tablespoons: Softens the texture and contributes to a tender, short crumb that is characteristic of classic butter cookies.
- Extra sugar for sprinkling (optional): Coarse or sanding sugar adds pretty sparkle and a slight crunch on top before baking.
Instructions
Preheat and prepare: Preheat the oven to 350°F (175°C). Line two baking sheets with parchment paper and set aside. A properly preheated oven ensures even spread and stable edges. If using dark-colored pans, reduce heat by 10°F to prevent overbrowning. Cream butter and sugar: In a large bowl, use a stand mixer fitted with the paddle or a hand mixer to beat the softened butter and granulated sugar together until light and fluffy, about 2 to 3 minutes on medium speed. Scrape down the bowl halfway to ensure even aeration; the mixture should look paler and slightly increased in volume. Add egg and vanilla: Beat in the large egg and vanilla extract until well combined. Mix just until incorporated to avoid overworking the batter. The egg provides emulsion and helps the dough hold together while still giving a tender bite once baked. Combine dry ingredients: In a separate bowl, whisk together the all-purpose flour, cornstarch, and salt. Whisking distributes the cornstarch and salt evenly and helps prevent streaks in the dough. Gradually add the dry mix to the butter mixture on low speed until a smooth, pipeable dough forms. Do not overmix; stop when no visible streaks of flour remain. Pipe the shapes: Transfer the dough to a piping bag fitted with a large star tip. If the dough feels too soft, chill for 10 to 15 minutes so it holds shape while piping. Pipe uniform rounds or rosettes onto the prepared baking sheets, spacing them about 1 inch apart. Sprinkle with extra sugar if desired for sparkle. Bake and cool: Bake for 12 to 15 minutes or until the edges are a light golden color. Rotate pans halfway through baking for even color. Allow cookies to cool on the baking sheet for 5 minutes before transferring to a wire rack to finish cooling. This brief rest helps the cookies set and prevents breakage during transfer.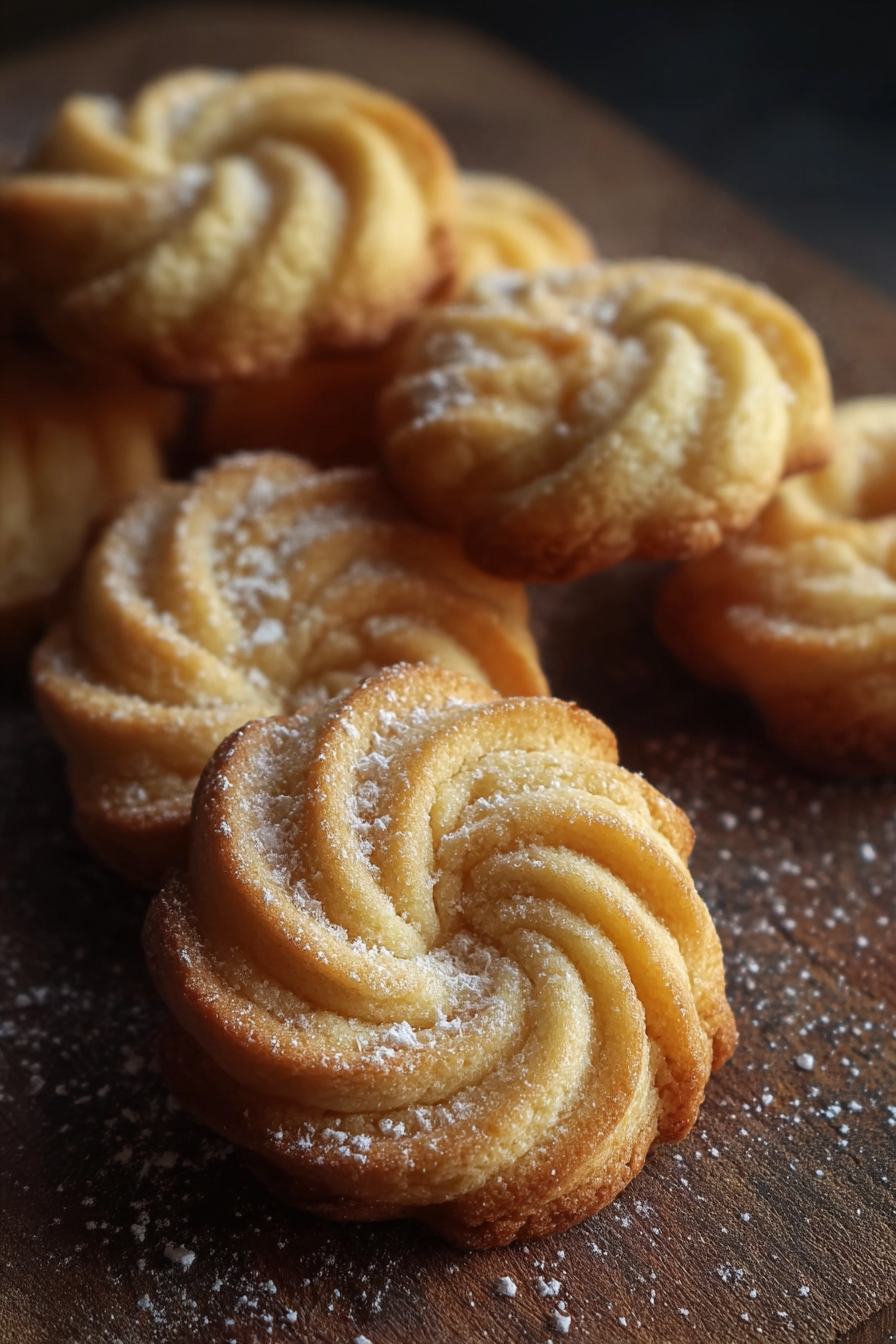
You Must Know
- These cookies keep well in an airtight container at room temperature for up to one week and freeze beautifully for up to three months when stored between layers of parchment in a sealed tin.
- Chilling the dough briefly gives sharper piped edges; if cookies spread too much, chill dough 10 minutes before piping or bake on a cooler sheet.
- High-quality butter is the single most impactful ingredient for flavor; the recipe relies on butter rather than added extracts or spices.
- For even baking, avoid overcrowding the pans; smaller cookies bake faster so adjust time accordingly.
My favorite part of making these is how they present. I often pipe a small batch, taste one warm, and arrange the rest into tins for friends. Years of baking taught me to watch for the faint color on the underside rather than just the top; that precise cue helps me produce consistently tender centers and lightly crisp edges every time.
Storage Tips
To maintain texture, store fully cooled cookies in an airtight container layered with parchment paper at room temperature for up to one week. For longer storage, freeze baked cookies in a single layer on a sheet pan until firm, then stack with parchment and transfer to a freezer-safe bag or tin for up to three months. Thaw at room temperature for 20 to 30 minutes before serving. If you plan to freeze dough, pipe logs onto parchment, freeze until solid, then transfer to a bag and cut and bake from frozen with an extra minute or two in the oven.
Ingredient Substitutions
If you need to swap ingredients, use a 1:1 substitution of light brown sugar for part of the granulated sugar for a hint of caramel flavor, though this will slightly darken the cookies. For a gluten-free option, replace all-purpose flour with a 1:1 gluten-free baking blend that contains xanthan gum; texture may be a touch crumblier. To reduce sweetness, decrease sugar by 1 to 2 tablespoons, noting it will change the structure slightly. Do not substitute margarine for butter if you want the same flavor and melt-in-the-mouth quality.
Serving Suggestions
Serve these cookies on a simple platter with tea or coffee, or arrange them in gift tins layered with tissue for holidays. For a festive touch, dip half of each cookie in melted dark or milk chocolate and chill until set, or sandwich two cookies with a thin layer of jam or chocolate ganache for a decadent bite. Lightly dust with powdered sugar for a snowy look during winter gatherings. They pair beautifully with Earl Grey or a bright, slightly acidic coffee to balance the buttery richness.
Cultural Background
Cookies of this style are inspired by Danish butter cookie traditions that emphasize high-fat, short crumb doughs piped into decorative shapes. While the exact origin is a blend of Northern European shortbread techniques and local Danish baking customs, these cookies became popular worldwide through tins exported as holiday treats. The classic profile celebrates butter over sugar or spices, which highlights the quality of dairy and simple technique rather than complex ingredients.
Seasonal Adaptations
In winter, fold in 1 teaspoon of orange zest or a pinch of ground cardamom for warmth. For summer, top with finely chopped pistachios and a drizzle of white chocolate. For Valentines or celebrations, press a small preserved cherry into the center before baking lightly to create a jewel-like finish. The base dough is versatile and accepts small flavor additions without losing its characteristic tender texture.
Meal Prep Tips
Piping and baking in batches makes these ideal for meal prep and gifting. Pipe cookies onto parchment-lined trays, freeze until solid, then transfer to bags that you can bake from frozen as needed. Alternatively, bake a large batch and portion into small airtight containers for grab-and-go snacks. Label containers with baking or freeze dates and use within recommended timeframes for best quality.
These cookies remain a simple pleasure: feeding friends, slipping into tin-lined baskets, or enjoying with a quiet cup of tea. They invite small acts of generosity and make baking approachable and rewarding. Try them once and they will quickly become a dependable classic in your baking repertoire.
Pro Tips
Use room-temperature butter and egg so they incorporate smoothly and produce a tender texture.
Pipe cookies of uniform size so they bake evenly; use a cookie scoop as a simple guide if not piping.
Rotate pans halfway through baking to avoid hot spots and achieve even color and texture.
If using salted butter, reduce added salt to avoid an overly salty finish.
This nourishing classic danish butter cookies recipe is sure to be a staple in your kitchen. Enjoy every moist, high protein slice — it is perfect for breakfast or as a wholesome snack any time.
FAQs about Recipes
What if my dough is too soft to pipe?
Chill the dough for 10 to 15 minutes if it feels too soft to pipe; this helps keep defined edges.
How long do these keep?
Store in an airtight container at room temperature for up to one week or freeze for up to three months.
How can I tell when they're done?
Watch the underside for a light golden color as the primary doneness indicator; top color can be deceptive.
Tags
Classic Danish Butter Cookies
This Classic Danish Butter Cookies recipe makes perfectly juicy, tender, and flavorful steak every time! Serve with potatoes and a side salad for an unforgettable dinner in under 30 minutes.
Instructions
Preheat and prepare
Preheat the oven to 350°F (175°C). Line two baking sheets with parchment paper and set aside. Proper preheating ensures even browning and predictable spread.
Cream butter and sugar
Beat softened butter and granulated sugar until light and fluffy, about 2 to 3 minutes. Scrape down the bowl to ensure even aeration and a pale, airy texture.
Add egg and vanilla
Beat in the room-temperature egg and vanilla extract until just combined. Mix on low to avoid overworking the dough which can make the texture tough.
Combine dry ingredients
Whisk together flour, cornstarch, and salt. Gradually add to the wet mixture on low speed until a smooth, pipeable dough forms, stopping when no streaks remain.
Pipe and sprinkle
Transfer dough to a piping bag fitted with a large star tip. Pipe shapes onto prepared sheets, spacing about 1 inch apart. Sprinkle with sugar if desired for sparkle.
Bake and cool
Bake for 12 to 15 minutes until the edges are lightly golden. Cool on the baking sheet for 5 minutes, then transfer to a wire rack to finish cooling. Rotate pans halfway through baking for even color.
Last Step: Please leave a rating and comment letting us know how you liked this recipe! This helps our business to thrive and continue providing free, high-quality recipes for you.
Nutrition
Did You Make This?
Leave a comment & rating below or tag
@snapyrecipe on social media!
Categories:
You might also like...
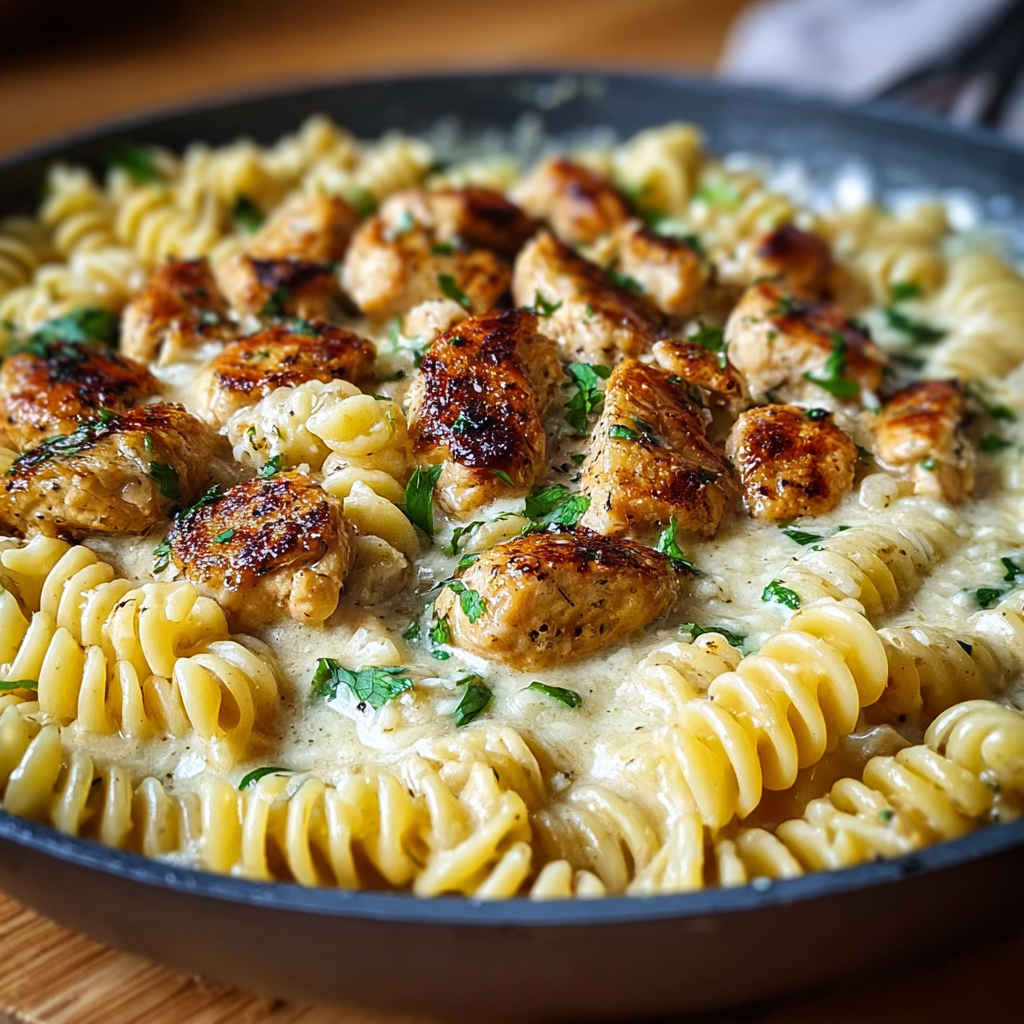
Creamy Garlic Butter Chicken & Rotini in Parmesan Sauce
Golden-browned chicken tossed with rotini in a silky garlic Parmesan sauce—comforting, quick, and perfect for weeknight dinners.
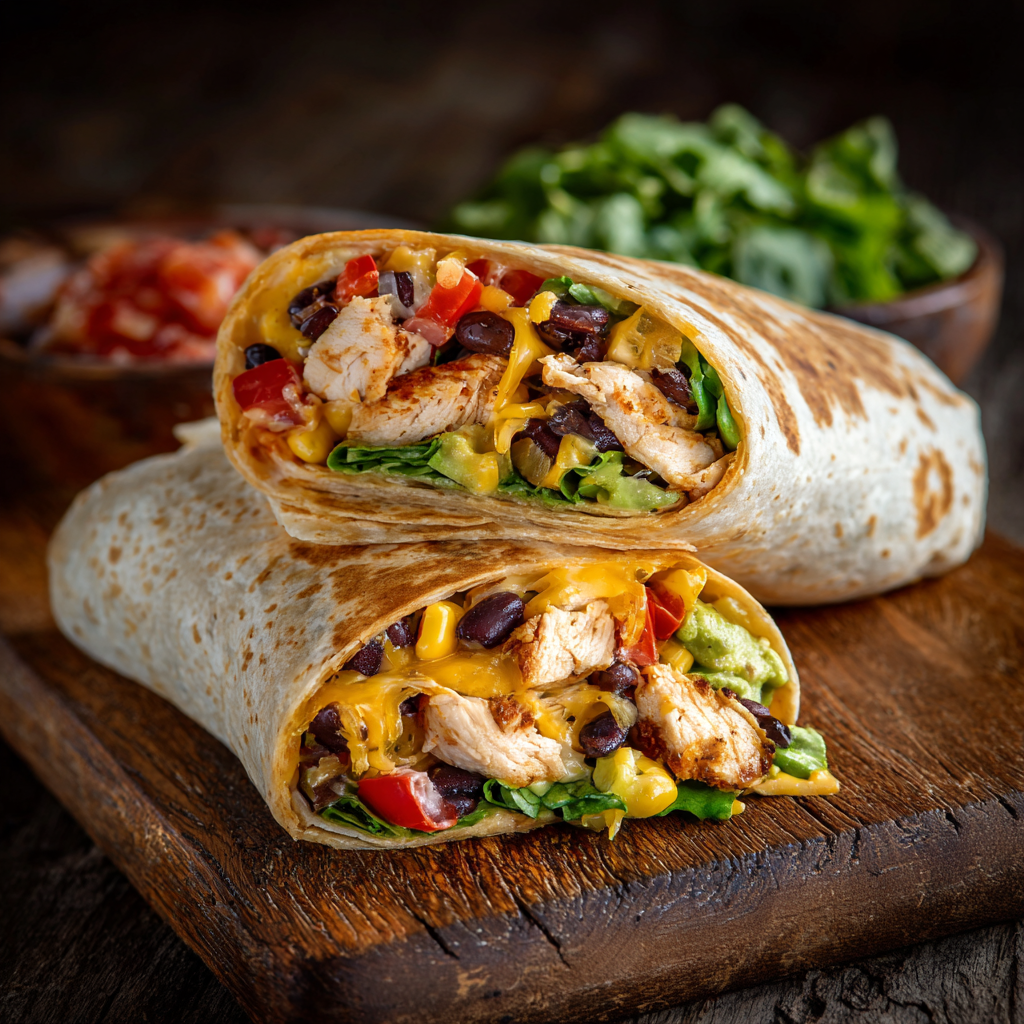
Southwest Chicken Wrap
A vibrant, smoky Southwest chicken wrap loaded with rice, beans, corn, and a creamy chipotle-lime sauce — perfect for lunch, meal prep, or an easy weeknight.

Classic Apple Crumble
A timeless apple crumble with a buttery, cinnamon-scented topping and tart-sweet Granny Smith filling — perfect warm with vanilla ice cream.
Did You Make This?
Leave a comment & rating below or tag @snapyrecipe on social media!
Rate This Recipe
Share This Recipe
Enjoyed this recipe? Share it with friends and family, and don't forget to leave a review!
Comments (1)
This recipe looks amazing! Can't wait to try it.
Comments are stored locally in your browser. Server comments are displayed alongside your local comments.
Hi, I'm Natalia!
What's Popular
Get My 30-Minute Meals email series!
Quick and easy dinner ideas delivered to your inbox.