
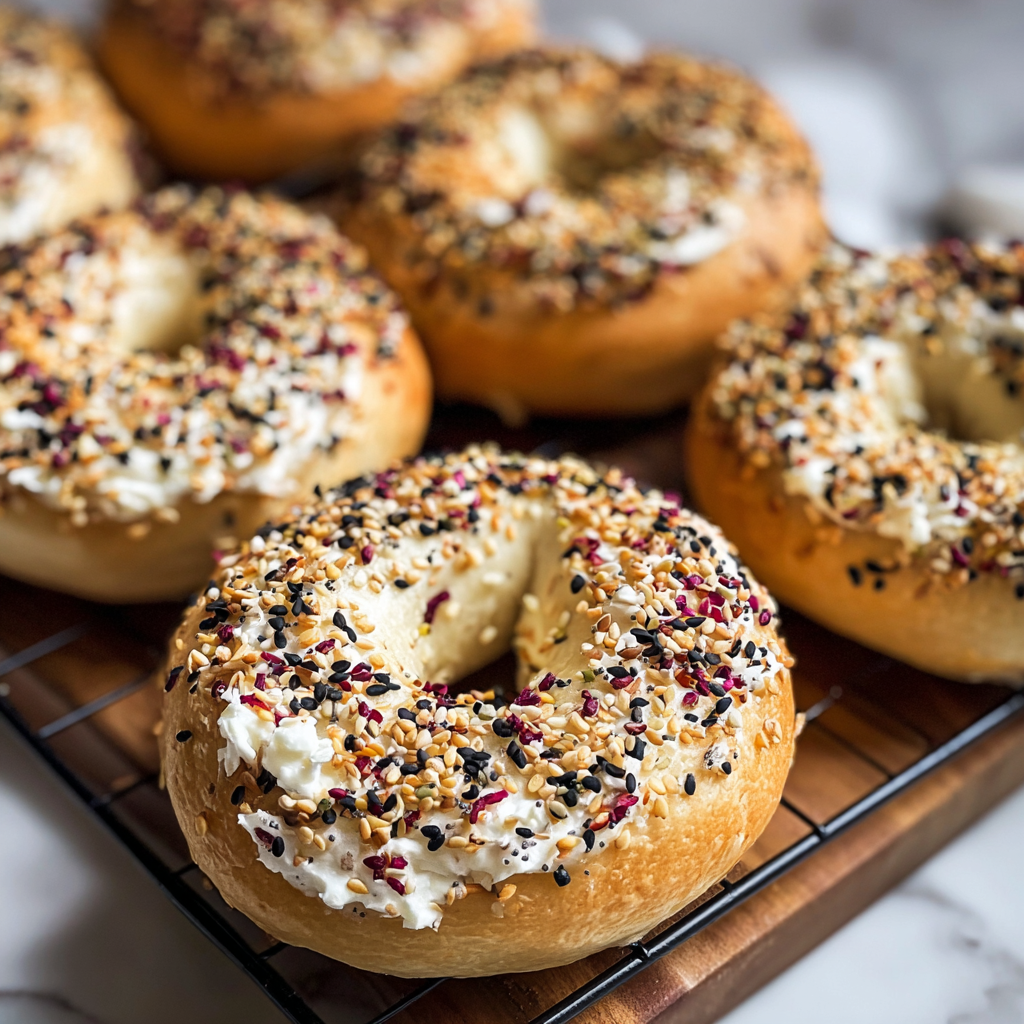
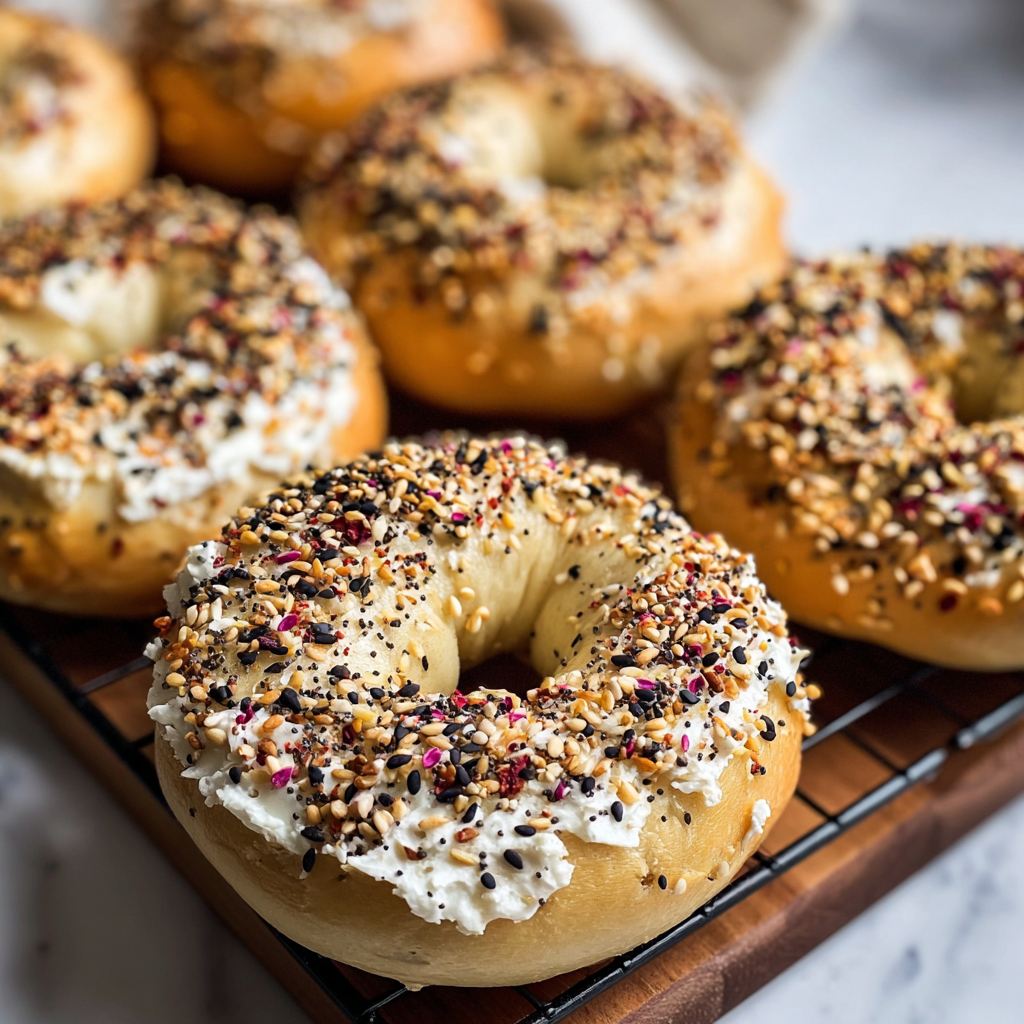
Healthy Greek Yogurt Bagels

Quick, chewy bagels made with plain Greek yogurt and pantry flour — a healthier, high-protein twist on a breakfast favorite.
Why You'll Love This Recipe
- This method is fast and approachable: ready from mixing to table in under an hour, perfect for busy mornings or last-minute brunches.
- Uses common pantry ingredients — flour, plain Greek yogurt, a pinch of baking powder and salt — so you rarely need a special trip to the store.
- Higher protein than standard bagels because of the Greek yogurt, which helps the bagels keep you satisfied longer without extra sugar or fat.
- Flexible for dietary swaps: use a gluten-free flour blend to make them gluten-free, or choose full-fat or low-fat yogurt to adjust richness and texture.
- Boiling briefly before baking gives a real bagel-like chew and beautiful golden crust without complicated steps or specialized equipment.
- Make-ahead friendly: dough can be shaped and chilled, or baked bagels freeze and reheat beautifully for quick breakfasts.
In our home these bagels became a simple weekend tradition. I often double the batch for company, and friends always comment on the tang and texture — they taste homemade, but they don’t require hours of planning. If you love a good toasted, schmear-ready bagel with fewer complicated steps, this is a keeper.
Ingredients
- All-purpose flour (2 cups): This forms the structure. Use a reliable brand such as King Arthur or Gold Medal for consistent results. If you need gluten-free, substitute a 1-to-1 gluten-free flour blend that includes xanthan gum to mimic elasticity.
- Plain Greek yogurt (1 cup): Unsweetened is best. Full-fat Greek yogurt adds richness and better crumb; nonfat will produce a slightly denser result but still tasty. The yogurt is the source of protein and the gentle tang that defines the flavor.
- Baking powder (1 teaspoon): A small lift agent to help the crumb be tender; it also compensates for the shorter rise time compared with yeast-based bagels.
- Salt (1/2 teaspoon): Enhances flavor and strengthens gluten slightly. Sea salt or fine table salt both work; measure carefully.
- Honey (1 tablespoon, optional): Adds a touch of sweetness and helps with browning. Replace with maple syrup or omit entirely for a tangier loaf.
- Olive oil (1 tablespoon, optional): For brushing before baking — gives a shiny crust and keeps the surface soft. A neutral oil works too if you prefer no olive flavor.
- Sesame seeds (1 tablespoon, optional): For topping. Toasted seeds add a nutty crunch and an attractive finish; poppy seeds or everything seasoning are excellent alternatives.
Instructions
Preheat and prepare: Preheat the oven to 375°F (190°C) and line a baking sheet with parchment paper. Having the oven ready ensures you can move quickly once the bagels are shaped. Place a large pot of water on the stove — you want it to come to a simmer shortly before you boil the first bagel. Combine dry ingredients: In a large bowl whisk together 2 cups of flour, 1 teaspoon baking powder, and 1/2 teaspoon salt. This evenly distributes the rising agent so the texture is consistent. If you prefer a slightly lighter crumb, sift the flour and baking powder together. Add yogurt and form dough: Stir in 1 cup plain Greek yogurt and 1 tablespoon honey (if using) until the mixture starts to pull together. Use a wooden spoon or spatula to combine, then turn the dough onto a floured surface if it becomes too thick for the bowl. The dough should be smooth and slightly sticky; if it's overly wet, add additional flour 1 tablespoon at a time until manageable. Knead briefly: Knead the dough for about 2 minutes on a lightly floured surface. This short knead develops just enough gluten for structure without producing a heavy, breadlike interior. Look for a cohesive, slightly springy dough — overworking can make the final texture tough. Shape the bagels: Divide the dough into 4 to 6 equal portions. Roll each into a tight ball and then use your finger to press through the center to form a hole. Rotate the dough gently to widen the hole to roughly 1 inch; remember the hole will shrink slightly during baking. Even sizing helps the bagels cook uniformly. Boil briefly: Bring the pot of water to a gentle boil. Lower the bagels into the water and simmer for 30 seconds per side. Boiling gelatinizes the starch on the surface, creating the signature crust and chew. Use a slotted spoon to transfer them back to the prepared baking sheet, allowing excess water to drip off. Finish and bake: Brush each bagel lightly with 1 tablespoon olive oil mixed across the batch, and sprinkle with sesame seeds or toppings of choice. Bake for 20 to 25 minutes or until golden brown and slightly firm to the touch. Internal temperature should be around 200°F if you use a thermometer. Cool before slicing: Allow the bagels to cool on a rack for at least 10 minutes before slicing. This resting period lets the crumb set so slices hold together when toasted or spread with toppings.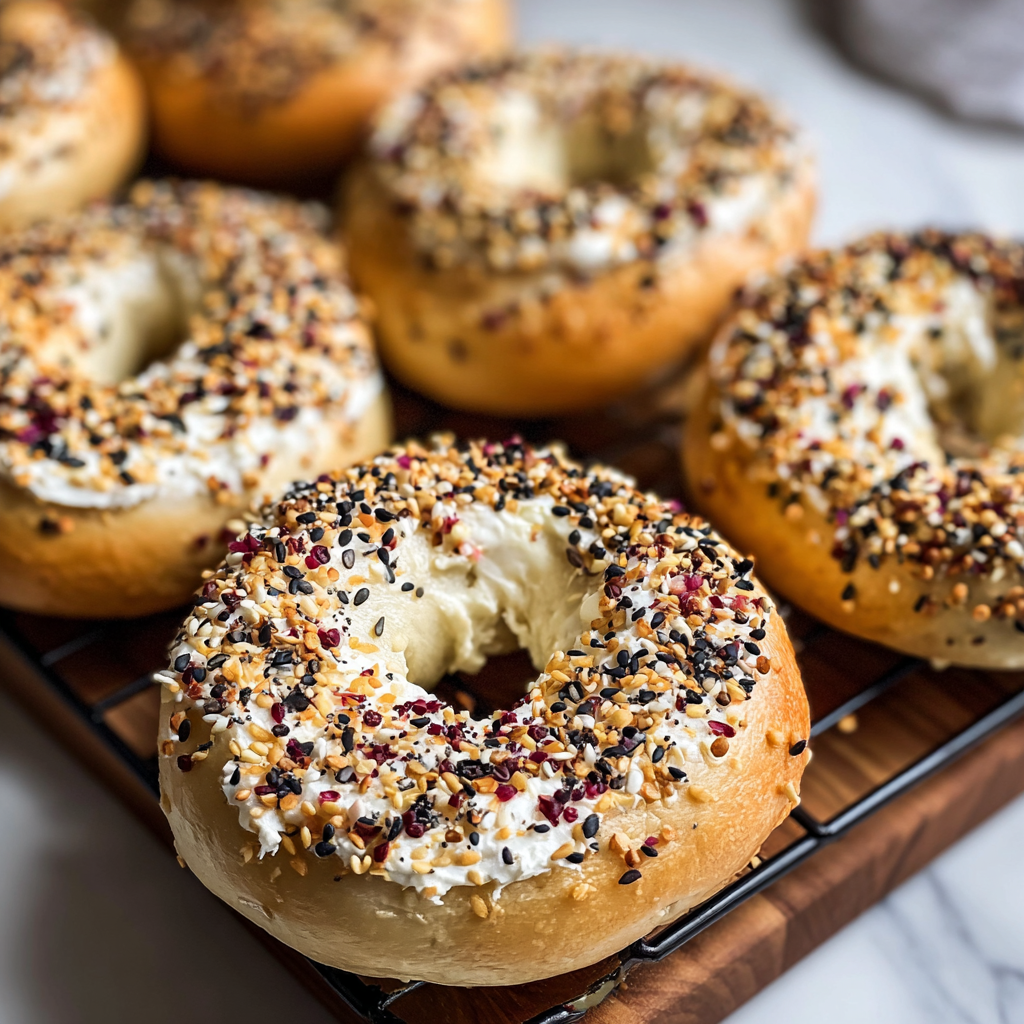
You Must Know
- These bagels freeze well for up to 3 months — cool completely, slice if desired, and freeze in a zip-top bag with parchment layers to prevent sticking.
- They are higher in protein than a typical bagel thanks to Greek yogurt; expect about 8–12 grams of protein depending on the yogurt used.
- Short boiling (30 seconds per side) is all you need for a chewy crust; longer boils give a darker, chewier crust but can make the interior denser.
- Store at room temperature in a paper bag for 1–2 days or in the refrigerator up to 4 days; warm in a toaster or oven to refresh the crust.
My favorite part of this method is how reliably the bagels turn out — even on the first attempt. Friends who've tried them often comment that they taste like a simpler, lighter version of a traditional bagel without hours of proofing. The yogurt tang and the quick boil create that little bakery moment at home, and seeing the family reach for them warmed with a smear of cream cheese always makes baking them worthwhile.
Storage Tips
Let the bagels cool completely before storing to avoid trapped steam that makes them soggy. For short-term storage up to two days keep them in a paper bag at room temperature; this helps preserve a bit of crust. For longer storage, slice and freeze in a single layer on a baking sheet, then transfer to a resealable bag. When ready to eat, toast from frozen for best texture: the heat revives the chew and gives a crisp edge without drying the inside. Avoid microwaving as it softens the crust quickly.
Ingredient Substitutions
To make a gluten-free version, replace the all-purpose flour with a high-quality 1-to-1 gluten-free blend that contains xanthan gum; expect a slightly different crumb and handle the dough gently. If you prefer a dairy-free version, try a thick plant-based yogurt such as coconut or soy Greek-style yogurt, though texture and flavor will differ and protein will be lower. Swap honey for maple syrup to keep it vegan-friendly, or omit sweetener entirely for a tang-forward profile. Using full-fat yogurt yields a richer crumb, while nonfat makes a denser bagel.
Serving Suggestions
These bagels shine toasted with a classic cream cheese and a scattering of chives, smoked salmon, or a simple avocado smash with lemon and cracked pepper. For breakfast sandwiches layer with fried egg, cheese, and greens. At brunch, slice and serve with flavored spreads — herbed labneh, honey butter, or a roasted-red-pepper spread complement the tang nicely. For a sweet option, toast and top with almond butter and sliced banana or ricotta and a drizzle of honey.
Cultural Background
Bagels originated in Eastern European Jewish communities and became a beloved staple in New York and beyond. Traditional bagels are made with yeast and require long fermentation and boiling. This Greek yogurt method is a modern adaptation that captures the characteristic chew and crust with a fraction of the time and without yeast, making the technique accessible to home cooks who want comfort and familiarity without a long rise time.
Seasonal Adaptations
In spring and summer, top with everything seasoning, sesame, or poppy seeds and serve with fresh herbs and seasonal salads. In autumn or winter, incorporate warm spices or a tablespoon of pumpkin purée into the dough for seasonal flavor, reducing the yogurt slightly to maintain dough consistency. Holiday brunches welcome a savory twist: fold in sundried tomatoes and basil or top with za’atar for a festive profile.
Meal Prep Tips
Double the batch and freeze half for quick breakfasts. Shape and boil all bagels, then allow them to cool and freeze on a tray before bagging. Portion into single-serving bags for easy mornings — pop in a toaster from frozen and add toppings. If preparing ahead for a brunch spread, bake the day before and reheat in a moderate oven for 8–10 minutes to revive the crust just before serving.
These Healthy Greek Yogurt Bagels are adaptable, forgiving, and genuinely satisfying — a simple homemade comfort that fits into busy lives. Make the recipe your own by experimenting with toppings and small swaps, and enjoy the ritual of fresh-baked bagels any morning of the week.
Pro Tips
If the dough is too sticky, add flour 1 tablespoon at a time until it’s easier to handle — don’t over-flour or the bagels will be dry.
Boil 30 seconds per side for a good chew; increase to 60 seconds per side for a chewier, darker crust.
Brush with olive oil right after boiling for a glossy finish and better seed adherence.
This nourishing healthy greek yogurt bagels recipe is sure to be a staple in your kitchen. Enjoy every moist, high protein slice — it is perfect for breakfast or as a wholesome snack any time.
FAQs about Recipes
Can I make these bagels gluten-free?
Yes — use a 1-to-1 gluten-free flour blend that contains xanthan gum for best texture. Expect a slightly different crumb and handle the dough gently.
How should I store leftovers?
They keep at room temperature for 1-2 days in a paper bag, refrigerated for up to 4 days, or frozen for up to 3 months. Toast from frozen for best texture.
Tags
Healthy Greek Yogurt Bagels
This Healthy Greek Yogurt Bagels recipe makes perfectly juicy, tender, and flavorful steak every time! Serve with potatoes and a side salad for an unforgettable dinner in under 30 minutes.
Ingredients
Dough
Toppings
Instructions
Preheat and prepare
Preheat the oven to 375°F (190°C) and line a baking sheet with parchment paper. Bring a large pot of water to a gentle boil to be ready for the poaching step.
Combine dry ingredients
Whisk together 2 cups flour, 1 teaspoon baking powder, and 1/2 teaspoon salt in a large bowl to ensure even distribution of the leavening agent.
Mix in yogurt
Add 1 cup plain Greek yogurt and 1 tablespoon honey if using. Stir until a dough forms. If too sticky, add flour 1 tablespoon at a time until it’s workable.
Knead briefly
Turn the dough out onto a floured surface and knead for about 2 minutes until smooth and slightly springy. Avoid overworking to prevent toughness.
Shape the bagels
Divide dough into 4–6 portions, roll into balls, and use a finger to form a hole in each. Rotate to widen the hole to about 1 inch diameter.
Boil briefly
Poach the bagels in boiling water for 30 seconds per side to set the crust and create chew. Remove with a slotted spoon and drain briefly on the baking sheet.
Brush and bake
Brush with olive oil, sprinkle with sesame seeds if desired, and bake 20–25 minutes until golden brown and firm. Cool on a rack before slicing.
Last Step: Please leave a rating and comment letting us know how you liked this recipe! This helps our business to thrive and continue providing free, high-quality recipes for you.
Nutrition
Did You Make This?
Leave a comment & rating below or tag
@snapyrecipe on social media!
Categories:
You might also like...

5-Minute Thanksgiving Appetizers That Wow Every Guest
A fast, elegant bite for Thanksgiving: creamy cheese, bright cranberry, crunchy pecans and rosemary on crackers or baguette — ready in five minutes and loved by all.

Air Fryer Bang Bang Chicken Skewers
Crispy air-fried chicken skewers tossed in a creamy, sweet-spicy bang bang sauce — a quick, crowd-pleasing weeknight favorite.

Air Fryer Honey Butter Garlic Chicken Tenders
Crispy air-fried chicken tenders coated in a sticky honey-butter garlic glaze — quick, family-friendly, and ready in about 25 minutes.
Did You Make This?
Leave a comment & rating below or tag @snapyrecipe on social media!
Rate This Recipe
Share This Recipe
Enjoyed this recipe? Share it with friends and family, and don't forget to leave a review!
Comments (1)
This recipe looks amazing! Can't wait to try it.
Comments are stored locally in your browser. Server comments are displayed alongside your local comments.
Hi, I'm Natalia!
What's Popular

Get My 30-Minute Meals email series!
Quick and easy dinner ideas delivered to your inbox.