
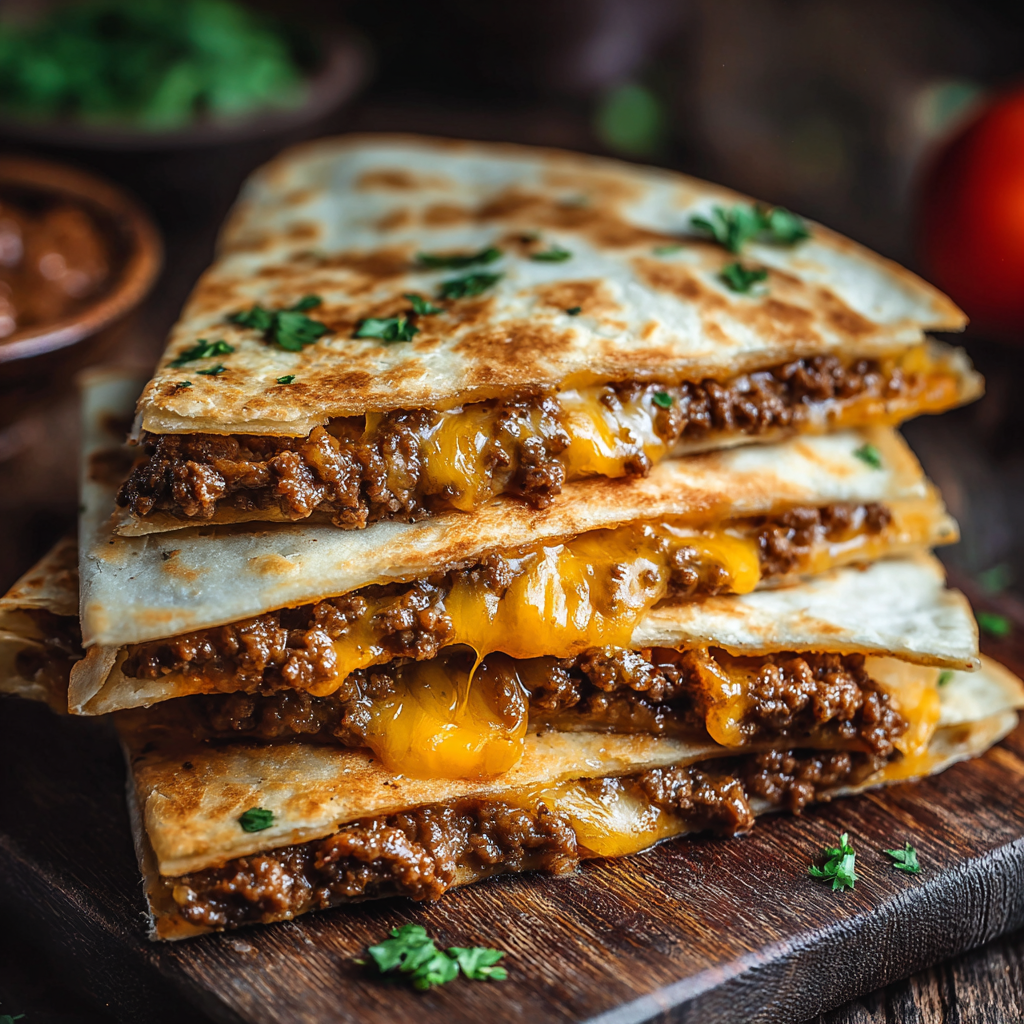
Smashburger Quesadillas

A playful crossover: juicy smashed beef cooked right on a flour tortilla, folded with melty cheese and grilled to crisp perfection — a fast, fun weeknight favorite.
This Smashburger Quesadilla is one of those happy accidents that became a dinner stalwart in our house. I first made it on a busy weeknight when I had a pound of ground beef and four large flour tortillas on hand, and I wanted something that tasted like a burger but came together faster and with less mess. The technique is simple: press a small handful of seasoned ground beef directly onto half of each tortilla, brown it flat like a miniature smashburger, then flip, add cheese, fold, and crisp until melted and golden. The result is juicy meat with crisped edges, gooey cheese, and the comforting familiarity of a burger wrapped in a tortilla.
I discovered this method while testing ways to repurpose leftover burger meat without losing the fresh-cooked texture. Cooking the beef directly on the tortilla gives a thin, caramelized crust that sings with buttery notes when it meets the hot skillet. It’s quick, satisfying, and endlessly adaptable — from classic cheddar and pickles to bold flavors like spicy aioli and grilled onions. It has become my go-to for last-minute lunches, quick dinners, and the perfect thing to serve kids (and adults) who want burger flavor without buns. This dish travels well to potlucks and pairs wonderfully with a simple green salad.
Why You'll Love This Recipe
- Speed: Ready in about 20 minutes from start to finish — ideal for busy weeknights or when you want something indulgent without a big time investment.
- Simplicity: Uses pantry staples — ground beef, tortillas, cheese, and basic seasonings — so you rarely need a special grocery run.
- Texture: The direct-contact sear creates crisp, caramelized beef edges that contrast with melty cheese and a soft interior for great mouthfeel.
- Versatility: Make-ahead browned beef, swap cheeses, or add mix-ins like diced onions and pickles for many flavor profiles.
- Crowd-pleasing: Each quesadilla slices into wedges that are easy to share at casual gatherings or game nights.
- Budget-friendly: One pound of beef and four tortillas stretch into four hearty portions, making this economical without skimping on flavor.
I remember the first time I served these at a small family gathering: my cousin stacked three wedges on his plate and declared them "the best quick food I've had in ages." The straightforward technique meant I could chat and flip, and the whole pan filled the kitchen with that irresistible beef-and-cheese aroma. It’s a recipe that invites improvisation, and every time I tweak a topping or sauce, it feels like a fresh discovery.
Ingredients
- Ground beef (1 lb): Choose 80/20 for juiciness and flavor; leaner meat will dry out more quickly. If you prefer milder fat, 85/15 works but reduce cook time. Buy fresh, or defrost thoroughly if frozen.
- Salt, pepper, garlic powder: Basic seasonings are purposeful here; salt enhances beef flavor, black pepper adds bite, and garlic powder gives background savory notes without added moisture.
- Large flour tortillas (4): Use sturdy 10–12 inch tortillas so they hold the smashed beef and crisp nicely. Brands with a bit of lard or oil toast up better and become pleasantly flaky.
- Shredded cheese (1 cup): Cheddar or American cheese melt beautifully. Shred your own cheddar for better texture; pre-shredded often contains anti-caking agents that change melt behavior.
- Optional toppings: Sliced pickles, diced raw onions, and burger sauce or favorite dipping sauce bring familiar burger notes. Serve them alongside so each person can customize.
Instructions
Preheat the skillet: Place a heavy skillet or griddle over medium-high heat and let it warm for 3–5 minutes until shimmering. A cast-iron pan is ideal for even heat and a superior sear; a nonstick skillet is fine for easier cleanup. Aim for a surface temperature of roughly 375–400°F if you use an infrared thermometer. Season the beef: Divide the ground beef into four equal portions. Season each portion with a pinch of salt, a grind of black pepper, and a light dusting of garlic powder. Mix gently — overworking the meat makes it dense. Keep hands cool and work quickly so the beef stays tender. Press and sear: Lay a tortilla flat on your work surface. Place a small handful (about 4 oz) of seasoned beef onto one half of the tortilla. Using a spatula or the palm of your hand covered with parchment, press the beef thinly so it forms an even layer about 1/4 inch thick across half the tortilla. Carefully transfer the tortilla to the hot skillet, beef side down. Cook for 2–3 minutes without moving until the edges brown and juices begin to bubble through. Flip and add cheese: Use a thin spatula to flip the tortilla so the beef side faces up. Sprinkle about 1/4 cup of shredded cheese over the cooked beef, then fold the empty half of the tortilla over, creating a half-moon. Press gently with the spatula to compact the filling. Grill both sides: Cook the folded quesadilla for 1–2 minutes per side, pressing occasionally, until the outside is golden brown and crisp and the cheese is fully melted. If the tortilla browns too quickly before the cheese melts, lower heat slightly and cover briefly with a lid to trap heat and finish melting. Slice and serve: Transfer to a cutting board, let rest 1 minute, then slice into wedges. Serve hot with pickles, diced onions, and a side of burger sauce or ketchup and mustard for dipping.
You Must Know
- Storage: Cooked quesadillas keep well refrigerated for up to 3 days in an airtight container. Recrisp in a skillet rather than microwave to preserve texture; 2–3 minutes per side over medium heat works best.
- Freeze: Fully cooled wedges freeze for up to 3 months. Reheat from frozen on a baking sheet at 350°F for 10–12 minutes, flipping halfway, until warmed through and crisp.
- Nutrition: A single serving (one quesadilla) is hearty and higher in protein and fat — if you’re watching calories, use leaner beef and lower-fat cheese or smaller tortillas.
- Safety: Ensure ground beef reaches an internal temperature of 160°F before serving if you’re unsure about doneness — thin patties cook fast but check the center.
What I love most is the way this method marries the best parts of a burger and a quesadilla: browned crust, juicy beef, and molten cheese. Every time I make a batch, someone inevitably asks for seconds, and the versatility means you can keep it classic or riff endlessly. Simple technique, big payoff — that’s the charm.

Storage Tips
Store cooled wedges in a shallow airtight container layered with parchment to prevent sticking. Refrigerate for up to 3 days. For longer storage, freeze individual wedges on a lined baking sheet until firm, then transfer to a freezer bag; they keep well for up to 3 months. To reheat refrigerated pieces, toast in a hot skillet for 2–3 minutes per side until crisp and warmed through. For frozen pieces, bake on a sheet at 350°F for 10–12 minutes or reheat directly in a skillet over low heat to avoid burning the tortilla before the interior warms.
Ingredient Substitutions
If you prefer a lighter version, swap ground beef for ground turkey or chicken — reduce cooking time slightly and add a touch of olive oil to keep the exterior from drying. For a cheesier melt, use American or Monterey Jack; for sharper flavor, try smoked cheddar. Gluten-free tortillas work but choose sturdy varieties labeled for grilling to prevent tearing. For dairy-free needs, omit cheese and add smashed avocado or a dollop of dairy-free sauce; the mouthfeel will be different but still satisfying.
Serving Suggestions
Serve wedges with classic burger accoutrements: thinly sliced pickles, diced raw or caramelized onions, and a tangy burger sauce (mayo, ketchup, a dash of pickle juice, and smoked paprika). Pair with a crisp green salad dressed in a zesty vinaigrette or a side of fries for a true diner experience. For a party, arrange wedges on a platter with small bowls of dipping sauces — ketchup, mustard, spicy mayo — and let guests customize their bites.
Cultural Background
This mash-up sits at the crossroads of American fast-food culture and Tex-Mex practicality. It borrows the smash technique common in American burger cooking — pressing beef thin to maximize Maillard browning — and marries it to the tortilla-wrapped convenience of quesadillas. Variations of meat-and-cheese folded in flatbreads exist worldwide, but this particular iteration channels familiar diner flavors into a hand-held format that’s distinctly modern and comfort-driven.
Seasonal Adaptations
In summer, add charred sweet corn and thin-sliced tomatoes inside for brightness; in winter, fold in caramelized onions and a smear of grainy mustard for warmth. For holiday gatherings, elevate with caramelized shallots and a slice of brie, or add roasted poblano peppers and a smoky chipotle mayo for autumnal depth. Adjust heat and toppings to reflect seasonal produce and desired flavor profiles.
Meal Prep Tips
Brown and season all the beef at once and store cooled portions in the refrigerator for up to 3 days; this makes assembly a quick 5-minute task. Keep shredded cheese in a ready portioned container and lay out tortillas when ready to assemble. If assembling for lunches, cook full quesadillas, cool completely, then wrap individual wedges in parchment and store in an airtight container. Reheat in a toaster oven or skillet to regain crispness.
These Smashburger Quesadillas are simple, flexible, and forgiving — ideal for busy cooks who want bold flavor without fuss. Give them a try, play with the toppings, and make the technique your own; they’re a perfect little culinary bridge between two beloved comfort foods.
Pro Tips
Press the beef thinly and evenly so it cooks through in 2–3 minutes and develops a good crust.
Use a hot skillet and avoid overcrowding; work in batches if your pan is small to maintain high heat.
If the tortilla browns too fast before the cheese melts, lower the heat and cover briefly to trap steam and finish melting cheese.
This nourishing smashburger quesadillas recipe is sure to be a staple in your kitchen. Enjoy every moist, high protein slice — it is perfect for breakfast or as a wholesome snack any time.
Tags
Smashburger Quesadillas
This Smashburger Quesadillas recipe makes perfectly juicy, tender, and flavorful steak every time! Serve with potatoes and a side salad for an unforgettable dinner in under 30 minutes.
Instructions
Preheat the skillet
Heat a heavy skillet or griddle over medium-high heat for 3–5 minutes until hot and shimmering. A cast-iron pan gives the best sear.
Season and portion the beef
Divide the ground beef into four portions. Season each with salt, pepper, and a light sprinkle of garlic powder, mixing gently to avoid compacting.
Press and sear on the tortilla
Place a small handful of seasoned beef on one half of a tortilla and press thinly to about 1/4 inch. Transfer beef-side down to the hot skillet and cook 2–3 minutes until browned.
Flip, add cheese, and fold
Flip the tortilla so the beef faces up, sprinkle 1/4 cup cheese over the cooked meat, then fold the tortilla in half to cover the filling.
Grill both sides until crisp
Cook the folded quesadilla 1–2 minutes per side, pressing gently, until both sides are golden and the cheese is melted. Lower heat and cover briefly if needed to finish melting.
Slice and serve
Let rest 1 minute, cut into wedges, and serve with pickles, diced onions, and burger sauce or condiments of choice.
Last Step: Please leave a rating and comment letting us know how you liked this recipe! This helps our business to thrive and continue providing free, high-quality recipes for you.
Nutrition
Did You Make This?
Leave a comment & rating below or tag
@snapyrecipe on social media!
Categories:
You might also like...

5-Minute Thanksgiving Appetizers That Wow Every Guest
A fast, elegant bite for Thanksgiving: creamy cheese, bright cranberry, crunchy pecans and rosemary on crackers or baguette — ready in five minutes and loved by all.

Air Fryer Bang Bang Chicken Skewers
Crispy air-fried chicken skewers tossed in a creamy, sweet-spicy bang bang sauce — a quick, crowd-pleasing weeknight favorite.

Air Fryer Honey Butter Garlic Chicken Tenders
Crispy air-fried chicken tenders coated in a sticky honey-butter garlic glaze — quick, family-friendly, and ready in about 25 minutes.
Did You Make This?
Leave a comment & rating below or tag @snapyrecipe on social media!
Rate This Recipe
Share This Recipe
Enjoyed this recipe? Share it with friends and family, and don't forget to leave a review!
Comments (1)
This recipe looks amazing! Can't wait to try it.
Comments are stored locally in your browser. Server comments are displayed alongside your local comments.
Hi, I'm Natalia!
What's Popular

Get My 30-Minute Meals email series!
Quick and easy dinner ideas delivered to your inbox.